

How To Repair Stucco?

Stucco can last a very long time if taken care of properly. But even if you’ve done everything you can to take care of it, it won’t be impervious to wear and tear over time. Hairline cracks can turn into bigger ones and your stucco could develop holes, which can let water in and lead to further damage underneath. Parts of the stucco can also fall off the surface it is adhered to, which results in loose areas that can worsen over time. So this means that small holes can turn into bigger holes with more moisture exposure and more damage.

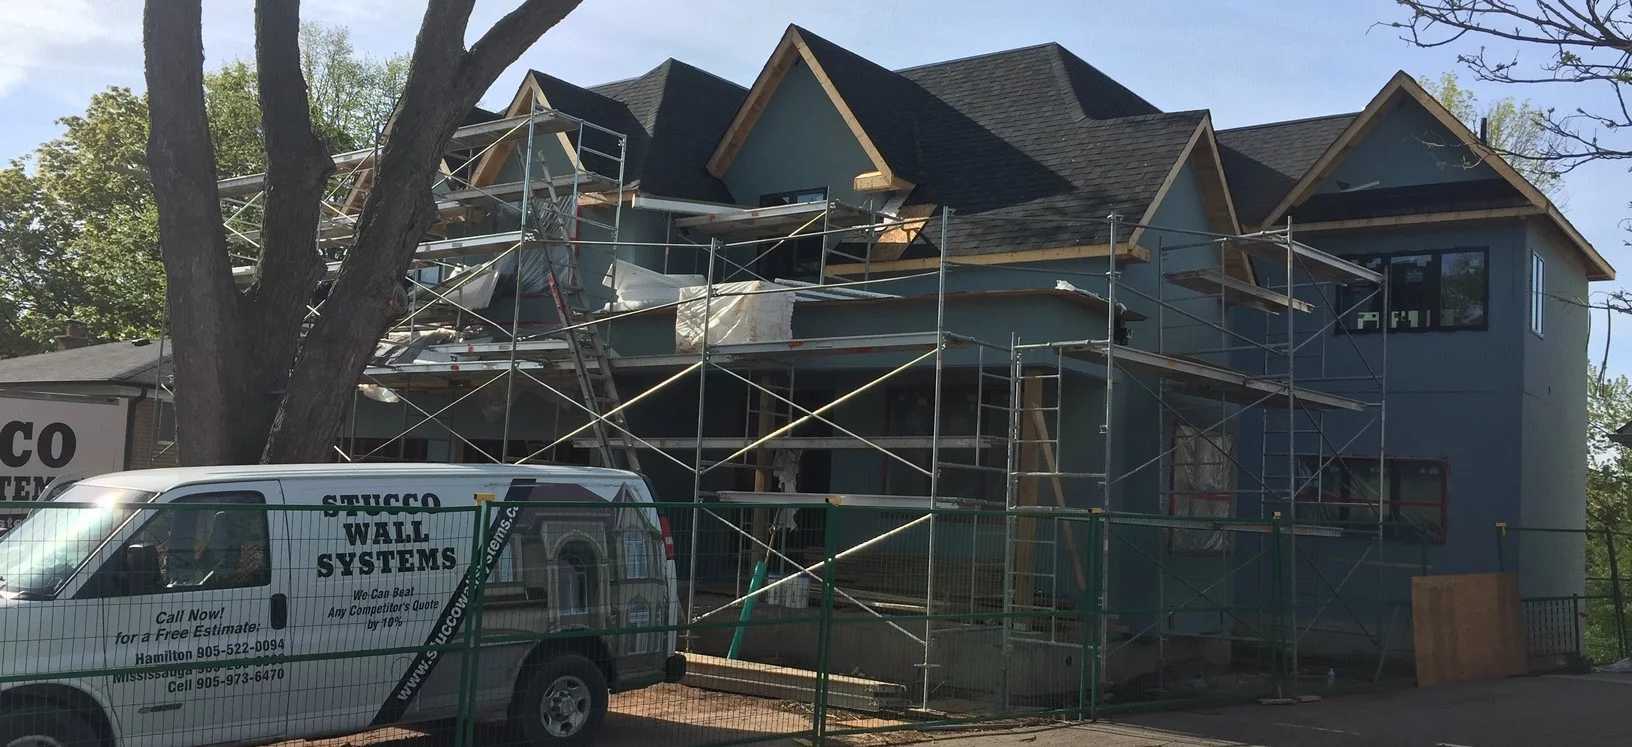
How To Repair Stucco? — Stucco Wall Systems project photo

Stucco can last a very long time if taken care of properly. But even if you’ve done everything you can to take care of it, it won’t be impervious to wear and tear over time. Hairline cracks can turn into bigger ones and your stucco could develop holes, which can let water in and lead to further damage underneath. Parts of the stucco can also fall off the surface it is adhered to, which results in loose areas that can worsen over time. So this means that small holes can turn into bigger holes with more moisture exposure and more damage.

You can follow these steps in order to repair your own stucco down below! First, start by removing the loose or damaged stucco in the area you would like to repair. You can do this with a hammer and chisel. You need to break apart the loose pieces until you reach an area of solidly adhered stucco along the whole perimeter of the area. Be sure not to damage the underlying wood lath or sheathing.

Next, you will want to add building paper to the area. You should have enough to cover the entire area in order to create a moisture barrier between the wood and the stucco. You will need to staple two layers of building paper to the area, one on top of the other.

After that, you will need to install some metal lath. Just like the building paper, the lath needs to match with the area that you are repairing. This means there should be no gaps between lath and edges of the original stucco. Fasten the lath with roofing nails. These nails should be strong enough to penetrate one inch into the wood or sheathing.

Once this is completed, you can start mixing your first batch of stucco. Follow the manufacturer’s directions to do this properly. You will need to keep it in a shaded area and be ready to apply it as soon as it is mixed. Most quick-setting stucco has a working time of 45 minutes or less, so only mix as much as you can apply in that timeframe.

You will want to spray the edges around the repair patch with water to prevent the new stucco from drying too quickly as you apply it. Then, using a trowel, load a fist-sized amount of stucco and sling it onto the metal lath. It should hold on its own. Repeat and cover the whole area.

Apply the second, or brown, coat. In a smooth and even layer using the trowel. Then let the brown coat cure, misting it with water following manufacturer instructions.

Then mix a batch of stucco for the final, or colour, coat. This can either be standard or custom order colour to match or achieve the desired look. Apply this final coat with a trowel so that it matches with the surrounding area. You can also texture it to match the original finish and let it cure as instructed by the directions.

Contact Stucco Wall Systems today for all your stucco needs. If you have any other questions, or aren’t confident in your stucco repair skills, contact our stucco repair experts today.

Be the first to know about innovative EIFS solutions and modern stucco styling. Get professional insights and exclusive project updates sent straight to your email every month.

Service Area

  • Work With Us

Upgrade Your Home Exterior Today

Tell us about your project — we’ll deliver expert guidance, durable materials, and a flawless finish.

Stucco Wall Systems Ltd.

Stucco Wall Systems Ltd. provides professional stucco installation, EIFS systems, stone veneer, soffit, fascia, eavestrough, and exterior renovation services across the Greater Toronto Area. We deliver durable, energy-efficient, and visually stunning exterior solutions for residential and commercial properties.

© STUCCO WALL SYSTEMS LTD.

Custom Website Design by LEAD Web Studio

Get a Consultation

Repairing stucco step by step

Below is the sequence a proper repair follows. It is worth knowing even if you hire someone — if a quote skips steps two or five, you are buying a repair that will fail again.

1. Find the water before touching the crack

A crack is a symptom. Before anything is patched, the wall gets checked for where water is entering: window and door perimeters, sills, roof-to-wall junctions, deck ledgers, and any penetration for vents, lights or taps. Tapping the wall reveals hollow, debonded areas that a photo never shows. Patching a crack while the real entry point stays open just moves the damage somewhere you cannot see.

2. Cut the damage back to sound material

Loose, hollow or soft stucco is removed until what remains is solid and well bonded. This is the step budget repairs skip, because it makes the job bigger. Skim coat over a debonded area and the patch will crack along the same line inside two winters.

3. Deal with what is underneath

If the substrate is wet it has to dry before anything is closed up. If sheathing is soft or rotted it gets replaced. If the water-resistive barrier is torn, it is repaired and lapped correctly so water is directed out of the wall rather than into it.

4. Re-mesh and rebuild the base coat

Fibreglass mesh is embedded in the base coat and lapped generously into the surrounding sound material — not butted to the edge of the patch. Corners of openings get diagonal reinforcement, because that is where stress concentrates and where diagonal cracks come from in the first place.

5. Let the base coat cure

Cementitious base coats need time and moderate temperature to gain strength. Rushing the finish onto a green base coat is the single most common cause of a repair that looks perfect for one season then crazes. In Ontario this is also why full repairs are scheduled roughly April to November.

6. Match texture, then colour

Texture is matched first by sample — sand, swirl, knockdown or dash — because a colour match over the wrong texture still reads as a patch from the street. Colour is then tinted to the existing wall and tested somewhere inconspicuous. On sun-faded acrylic finishes, we usually carry the finish to the nearest control joint or corner so the repair ends at a natural break instead of in the middle of an elevation.

7. Re-seal the joints

Control joints, window and door perimeters and any penetration get new backer rod and a proper elastomeric sealant. Sealant is a wear item: it is the cheapest part of the wall and the first to fail, and renewing it on schedule prevents most of the repairs on this page.

What a stucco repair should cost

In the GTA in 2026, crack repair with routing, mesh and texture matching typically runs $120–$400 per crack; patching a small failed area runs $450–$1,200; rebuilding a water-damaged section back to the substrate runs $18–$34 per square foot; and refinishing a full elevation runs $9–$16 per square foot. The full breakdown, with what drives each number, is on our stucco repair page.

When repair is the wrong answer

Patching stops making sense when large areas sound hollow, when the substrate behind is wet or rotted, when the original installation has no control joints at all, or when patch after patch has already been done and keeps failing. At that point rebuilding the assembly costs less over ten years than paying for the same repair four more times. Related reading: signs of water damage behind stucco, why GTA winters crack stucco and why the cheapest quote usually costs more.

Written by Musa Kastrati
Owner & lead installer, Stucco Wall Systems · 25+ years in stucco, Oakville

Musa still works on the tools after 25+ years and has finished hundreds of stucco and EIFS exteriors across Ontario. This guide comes from that job-site experience. More about Musa →

Put this knowledge to work

Reading about stucco is step one — the walls still need hands. If your exterior shows any of the symptoms covered here, start with a proper assessment instead of a patch kit:

ServiceStucco Repair

Cracks, holes and water damage fixed with matched finishes.

ServiceResidential Stucco

Full refinishing and EIFS systems for homes.

PortfolioRepair & Restoration Project

See the diagnosis-first process on a real home.

Or call (905) 973-6470 — describing the symptom over the phone takes two minutes and usually tells us what we’re walking into.

From the blog

Keep reading

Practical guides written from job-site experience by owner Musa Kastrati.

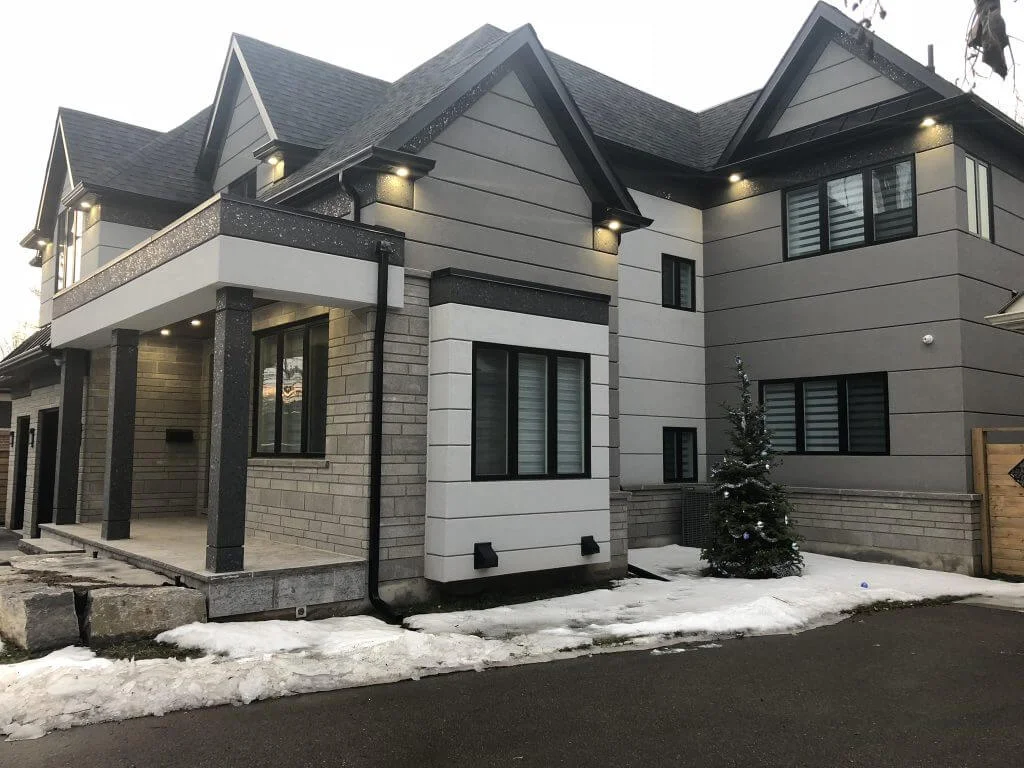
Finished stucco home exterior by Stucco Wall Systems in the GTA

Ready to upgrade your exterior?

Tell us about your project and get a free, fixed written quote. Oakville-based, serving the whole GTA — open 24 hours.

Get a free quote Call (905) 973-6470


