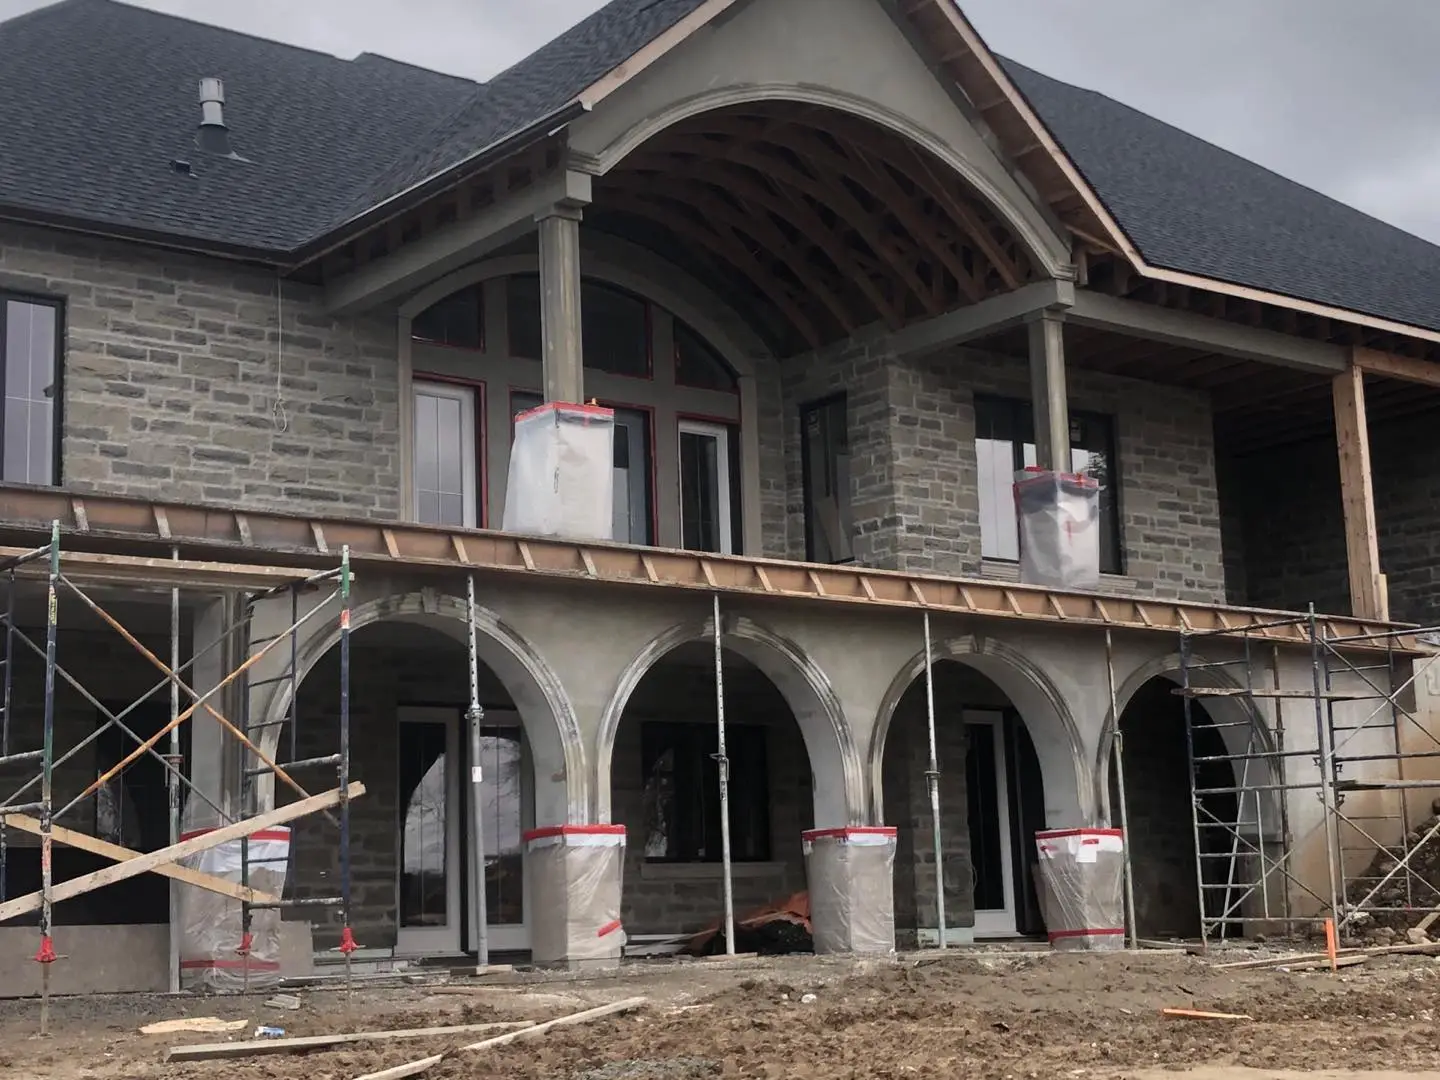
Every spring somebody in Kleinburg or Oakville calls me wanting to talk about stone accents — not a full stone house, just the entry, or the base of the porch columns, dressed in something with more texture than a plain stucco field. Good instinct. A stone accent on a stucco home is one of the cheapest ways to make an ordinary elevation look like a custom build, if it’s detailed the way it needs to be and not just glued on for the photo. After 25+ years running stucco and stone crews across the GTA, here’s what actually makes a stone accent hold up instead of becoming next year’s repair call.
What’s the real difference between natural stone and manufactured stone veneer?
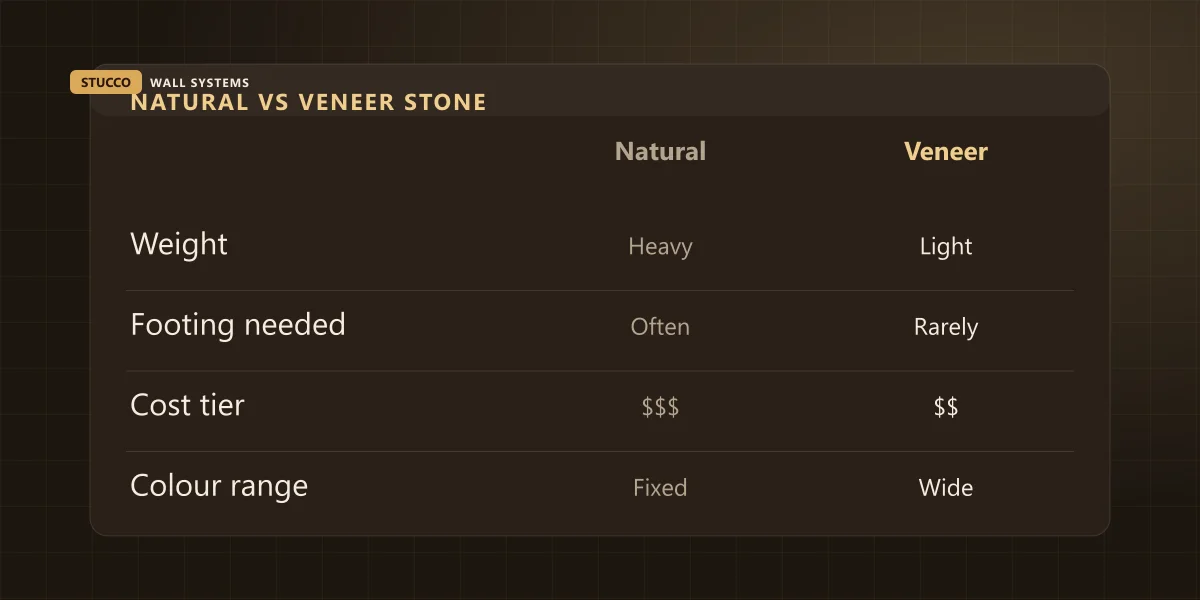
Natural stone is quarried rock, cut or split to thickness — heavy, expensive, and often needs its own footing or structural ledge. Manufactured stone veneer is lightweight cast concrete, coloured and moulded to look like stone, installed over lath and a weather-resistive barrier the same way a stucco finish coat is, with no footing in most residential applications.
| Natural stone | Manufactured veneer |
|---|
| Weight | Heavy | Light |
| Footing needed | Often | Rarely |
| Cost tier | $$$ | $$ |
| Colour range | Fixed by the quarry | Wide, consistent lots |
| Repairs | Re-source matching stone | Match from current product line |
Neither one is the “better” choice on its own — they solve different problems. The big natural-stone custom builds I work on in Kleinburg and King City are usually new construction, where the footing and structural bearing get designed into the house from the start. The renovation calls I get in Bronte and Port Credit — someone wants to dress up a 1990s stucco bungalow’s entry without touching the foundation — are almost always manufactured veneer, because it hangs off the existing wall the same way a heavy stucco finish would.
Where do stone accents actually earn their keep on a stucco house?
The spots that consistently look right and hold up are the entry surround and porch columns, a base band around the first few feet of wall, and chimneys. Wainscoting the whole first floor works on larger custom homes; scattering stone in three unrelated spots on a smaller house usually looks like an afterthought instead of a design decision.
Entry surrounds and columns get the most requests, and for good reason — it’s the one part of the house every visitor stands in front of. A base band, run around the bottom two to four feet of the whole elevation, is the other one that consistently earns its cost: it protects the part of the wall closest to snow piles, mulch splashback and lawn equipment, while giving the house a grounded, weightier look from the street. You can see both moves on a full natural-stone build in our Burlington stone installation project and a base-band-and-entry treatment on stucco in the Mississauga natural stone exterior.
Chimneys are the third real winner — they’re already a separate volume sticking out of the roofline, so a material change there reads as intentional rather than random. What I steer people away from is stone around individual windows or in isolated patches with no logic to where it starts and stops; it almost always ends up looking like a patch job even on day one, and it multiplies the number of transition seams — which is exactly where the actual risk lives, covered next.
What detailing makes or breaks a stone accent?
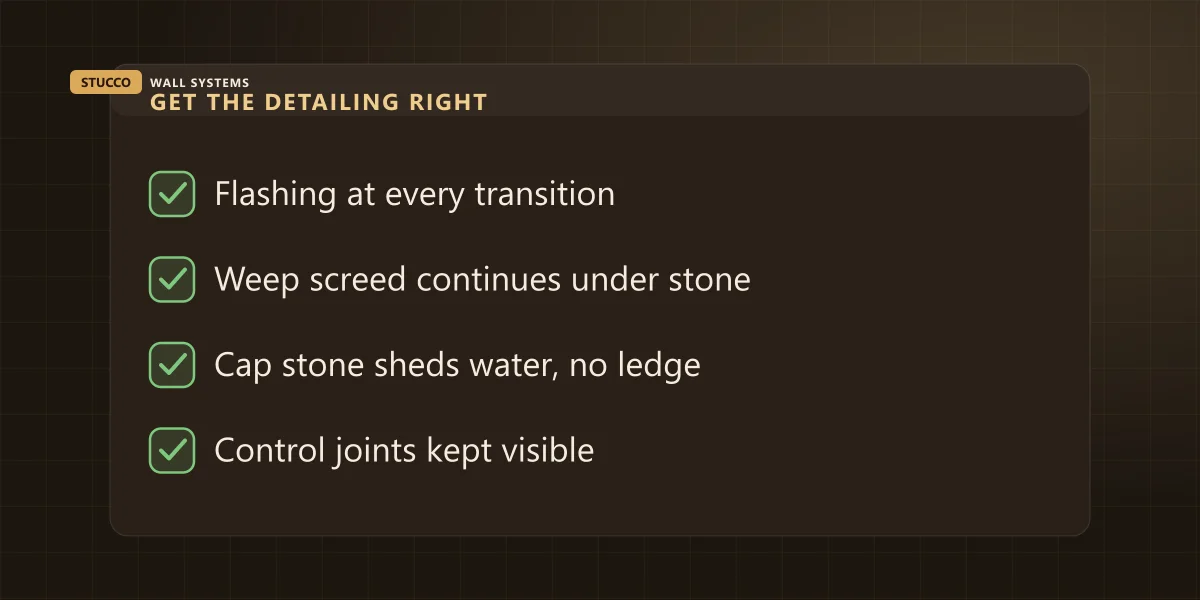
The stone itself almost never fails first. What fails is the transition where it meets the stucco field: flashing that wasn’t carried through, a weep screed that stops instead of continuing under the stone, or a flat cap ledge with nowhere for water to go. Get those four details right and the stone will outlast the rest of the house.
| Detail | Why it matters | What goes wrong if skipped |
|---|
| Flashing at the transition | Stops water from following the seam into the wall | Staining and rot start right at the stone-to-stucco line |
| Weep screed continues under the stone | Keeps the whole wall’s drainage plane intact | Moisture gets trapped behind the stone with nowhere to drain |
| Cap or sill stone sheds water | A sloped top ledge moves rain off, not into it | A flat ledge holds water like a birdbath — freeze-thaw pops the joint below it |
| Control joints stay visible through the accent | The wall still needs room to move seasonally | The stone or the mortar joint cracks instead of the joint doing its job |
That last one surprises people — a control joint isn’t a design flaw to hide behind a nice material, it’s doing real work, and burying it under a solid run of stone just moves the crack somewhere less convenient. Every stone accent we detail carries these same four rules through, whether it’s a small entry surround or a full elevation — it’s the same logic behind our stone installation work generally, just scaled to the size of the accent.
Does a stone veneer accent need its own footing?
Usually only if it’s natural stone thick and heavy enough to need real structural bearing — that commonly means a footing or a structural ledge built into the wall design. Manufactured stone veneer weighs a fraction of that and is designed to install over standard lath and fasteners, the same way a heavy-textured finish coat hangs off a wall.
That weight difference is the whole reason the two materials end up on different kinds of jobs. A natural stone base band on a new custom build gets designed in from the footing up, because the structural engineer already knows what’s going on that wall before the foundation is poured. Trying to add real natural stone to an existing stucco bungalow after the fact, without a footing, is the kind of shortcut that shows up as bulging or cracking a few years later — the wall was never built to carry it. Your local building department has the final word on what needs an engineered footing on your specific house; that’s not a call I’m making from a blog post, it’s one your inspector makes from your drawings.
Either way, the wall behind the stone needs its own drainage plane independent of the finish — the same rainscreen logic that applies to any cladding, which CMHC’s guidance on rainscreen wall assemblies covers well. A stone accent that traps water behind it fails the same way a poorly detailed brick veneer does.
Can you add a stone accent to an existing stucco wall, or does it need a full re-stucco?
Usually you can add it without touching the rest of the wall, as long as the stucco around the accent area is sound. We cut back the existing finish at that section, expose the sheathing, tie in new lath and flashing, and continue the weep screed under the new stone — the rest of the elevation stays exactly as it was.
The part that turns a simple accent into a bigger job is what we find once the old finish comes off. If the sheathing behind that section is soft or the lath is rusted through, that gets addressed before any stone goes up — same substrate logic I go through when someone asks about stuccoing over an existing brick wall. It’s also not a corner-cutting DIY afternoon; tying a new drainage plane into an old one correctly is exactly the kind of detail work that separates a stone accent that lasts from one that’s staining by year three.
What do stone accents cost compared to the rest of the job?
There’s no single number the way there is for a full stucco wall — coverage area, natural stone versus manufactured veneer, and how much structural prep is involved swing an accent’s price more than almost anything else we quote. What stays consistent: manufactured veneer costs less than natural stone for the same square footage, mostly because you’re not paying for a footing, structural bearing or the extra labour that comes with handling real stone.
| Cost driver | Manufactured veneer | Natural stone |
|---|
| Material cost per sq ft | Lower | Higher |
| Structural prep | Usually none | Footing or ledge, often required |
| Handling & labour | Standard crew, standard time | Heavier, slower, more crew hours |
| Best fit | Retrofits, accents on existing walls | New builds designed around it |
I know “it depends” isn’t the answer most people want on a cost question, but a fabricated number here would be less honest than the real one. A base band around a modest bungalow entry and a full natural-stone elevation on a custom Kleinburg build aren’t the same category of job, and quoting them the same way would do you no favours. What we can tell you upfront, before a site visit, is which category your project falls into — and whether it pairs better with your existing stucco colour as an accent or a full band.
Is a stone accent the right move for your house?
If you want more visual weight at the entry, the base of the wall, or the chimney — without touching the rest of a sound stucco elevation — a properly detailed stone accent is one of the better upgrades on the table, custom-build look at a fraction of a custom-build budget. Skip it if the wall behind the proposed accent isn’t sound yet; fix that first, the same way we’d spec it on any residential stucco job, or the accent inherits a problem it didn’t cause.
The control-joint and flashing logic here is the same discipline we spec into new-build drawings from day one — stone accents just apply it to an existing house instead of a blank lot. Send a few photos of the wall you’re thinking about through our contact page and we’ll tell you straight whether it’s a clean accent job, needs prep first, or isn’t a fit for that wall at all.