Every spring I get calls from builders and site supers a few days from a stucco start date, working off a drawing set that says “stucco finish, colour TBD” and nothing else. No joint layout, no weep screed detail, no call on cement or EIFS. On a repair or a repaint I can make those calls standing in front of the wall and it’s fine. On a new build, that gap is exactly where random cracking, hidden water paths and PDI arguments come from six months after the framers are gone. Here’s what actually needs to be in the drawings before stucco goes on a new house in the GTA — and what I check before I’ll sign off on the substrate underneath it.
What should actually be on a new-build’s stucco spec?
A real stucco spec names the system — cement three-coat or EIFS — shows control joint locations on the elevations, calls out weep screed height at grade, and flags flashing at every window, door and penetration. If your drawings only say “stucco finish,” that’s not a spec, it’s a placeholder someone forgot to finish.
I understand why it happens. Structural drawings for a new build get real scrutiny — an engineer stamps them, the building department checks them against the Ontario Building Code, everyone treats the framing package as load-bearing in every sense. Then the cladding gets one line near the bottom of the elevation sheet, because on paper it’s “just a finish.” It isn’t. It’s the layer that has to manage every bit of water hitting the outside of the house for the next 40-plus years, and the decisions that make it do that well — where the joints go, how the layers build up, where water is told to go when it inevitably gets past the surface — are cheapest to make on paper and most expensive to fix once the finish coat has cured.
Why do control joints matter more on a new build than on a repaint?
Because on a new build the whole wall is moving. Framing lumber keeps shedding moisture and shrinking through its first year or two, the house settles onto its foundation, and every one of those small movements has to go somewhere. A control joint gives it somewhere to go — a deliberate break that lets one panel move without dragging a crack across the panel next to it. Skip the joints, or leave the spacing up to whoever’s applying the finish that week, and the wall finds its own places to crack instead, usually at a window corner or an inside corner where nobody wanted a crack line.
On a repair or an older home, the building has already done most of its settling and I’m mostly managing an existing crack pattern — I cover how that plays out over a wall’s life in how long stucco actually lasts in Ontario. A new build is the one point in a wall’s life where you get to decide where the cracks go before there are any.
Where exactly should control joints go?
At every change of wall plane or height, at every point where two structural systems meet, at re-entrant (inside) corners, and roughly every 12–18 feet along any long, unbroken run of wall. Those four rules cover the large majority of joint placement on a typical GTA new build.
| Location | Why a joint goes there |
|---|
| Every change of wall plane or height | Adjoining panels move independently; a joint lets them do that without cracking the field |
| Where two structural systems meet — wood frame over a block foundation, an addition tied into the original house | Dissimilar materials expand, contract and settle at different rates |
| Re-entrant (inside) corners — L-shaped wall returns, above garage door returns | Stress concentrates at inside corners harder than almost anywhere else on the elevation |
| Every 12–18 ft of continuous, unbroken wall | Keeps any single panel small enough that shrinkage stress stays below the cracking threshold |
The exact spacing your system needs is a manufacturer detail, not something I want to eyeball on install day — which is exactly why it has to be resolved on the drawings before we show up, not negotiated on-site with a chalk line.
Cement stucco or EIFS — how do you decide for a new build?
Mostly budget and how much insulation you want the cladding itself to add. Three-coat cement is the tried-and-true, slightly cheaper choice with a classic hard-coat look. EIFS costs a bit more up front but adds continuous foam insulation and lets you do deeper reveals, banding and architectural detail that cement can’t match as cleanly.
| System | Best fit for | What it needs on the drawings |
|---|
| Three-coat cement | Standard elevations, tightest budget, classic look | Lath type, scratch/brown/finish coat callout, joint layout |
| EIFS (class PB) | Reveals, banding, extra R-value, custom architectural detail | Foam thickness, drainage plane, termination and flashing details |
I go through the full cost and performance trade-offs — including what EIFS actually does to a heating bill — in EIFS vs. traditional stucco. For a new build, the decision needs to happen at the drawing stage, alongside the insulation and window package, not after the sheathing’s already up and the trades are asking which one they’re installing.
What else belongs on the drawings that most spec sheets skip?
Four things I check for on every new-build set: the weep screed height at grade, flashing details at every window, door and penetration, the control joint layout we just covered, and which system is actually called out — not just “stucco.”
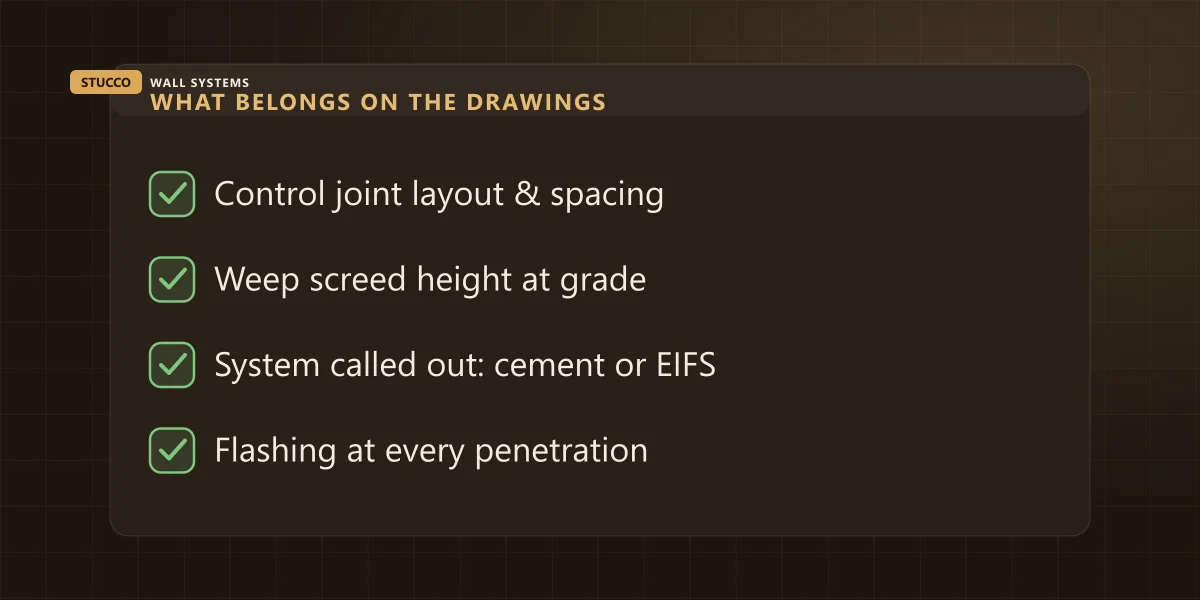
The weep screed — the metal termination that finishes the bottom edge of the wall system and lets any moisture trapped behind the finish drain back out — needs a few inches of clearance from grade and paved surfaces, not to be buried under mulch or a driveway pour. Flashing needs a callout at every single penetration: window heads, door heads, hose bibs, light fixtures, anywhere something punches through a continuous wall system. Miss one on the drawings and it gets missed on the wall, because nobody flags what nobody wrote down.
What should a Pre-Delivery Inspection (PDI) actually check on stucco?
Colour and texture should be uniform across every elevation, corners and returns should be square, joint lines should be straight and consistently sized, and any cracking should be limited to fine hairlines. Anything wider than a hairline, or any staining, gets photographed and written into the PDI form — not fixed quietly and forgotten before you close.
| What you’re looking at | Normal for a new build | Flag it in writing |
|---|
| Hairline cracking (fine map pattern) | Common in year one as materials cure and the house settles | Anything you can catch a fingernail in |
| Colour and texture across elevations | Consistent front to back, same batch throughout | Visible patchwork or a colour shift between sections |
| Joint lines | Straight, consistent width, sealant intact | Wavy lines, open gaps, missing sealant |
| Weep screed at grade | Clear of soil, mulch and paving by a few inches | Buried or already touching grade at closing |
Ontario’s new-home warranty process exists specifically so a buyer has a documented record of exactly this kind of thing before they take possession — walk the stucco slowly, in daylight, and write down anything that doesn’t match this table before you sign off.
Who should sign off before stucco starts, and why does it matter?
The designer puts the joints, system and flashing on the drawings. The site super confirms the substrate underneath — sheathing, weather barrier, lath — actually matches what’s on those drawings. And I confirm that match before the first scratch coat goes on, because once the finish is on the wall, checking any of it means opening the wall back up.
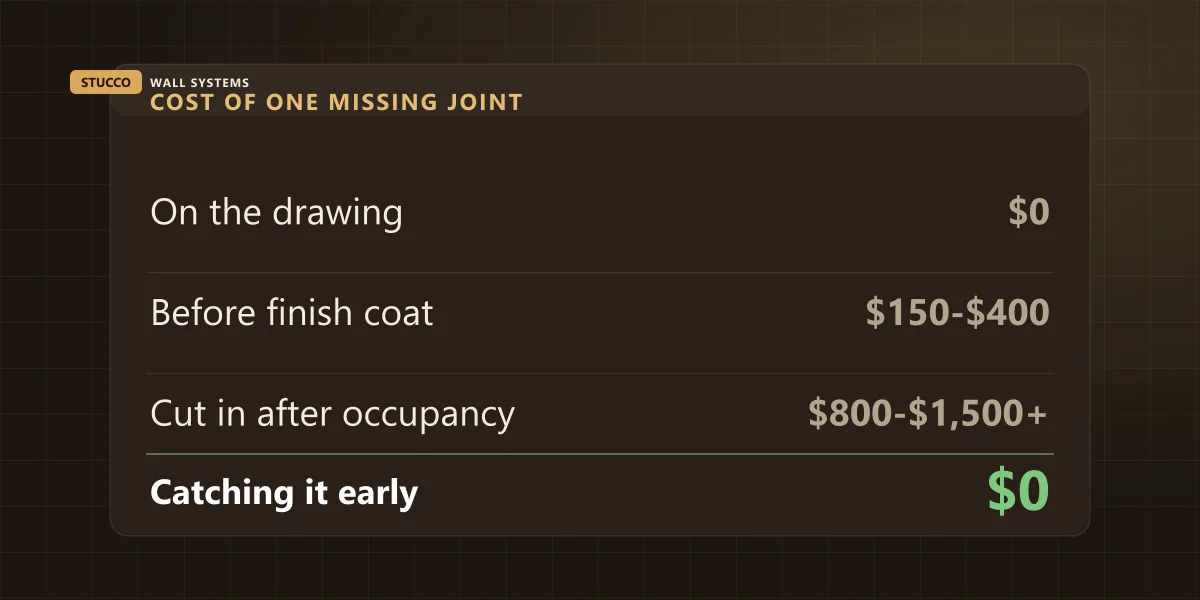
That gap in cost is the whole argument for getting the spec right at the drawing stage. A joint that costs nothing to draw and a few hundred dollars to build in during install turns into a cut-in repair against a finished, occupied house if it’s caught late — on top of whatever cracking already happened because it was missing. We’ve built that kind of coordination into new-build jobs like our Oakville new-build stucco installation, where the joint layout and system were locked in before we ever touched the wall.
Building a new home and want the stucco spec done right?
Send us the drawing set — or the empty space where the stucco spec should be — and we’ll tell you straight what’s missing before the framers are even done. Get in touch with your plans and we’ll walk through joint layout, system choice and flashing details for a custom home or a commercial build anywhere across the GTA, including new-construction pockets in Vaughan and Oakville.