Every October my phone goes quiet on new-install calls and busy with a different question: “is there anything I should be checking before winter?” There is, and it’s the same one-hour fall stucco checklist I’d run on my own house — sealant, downspouts, cracks and grade, in that order. None of it needs a ladder crew or a big bill. After 25+ years watching which walls sail through a GTA winter and which ones show up on my spring call list, this is the hour that decides which pile yours lands in.
What’s actually on the one-hour fall stucco checklist?
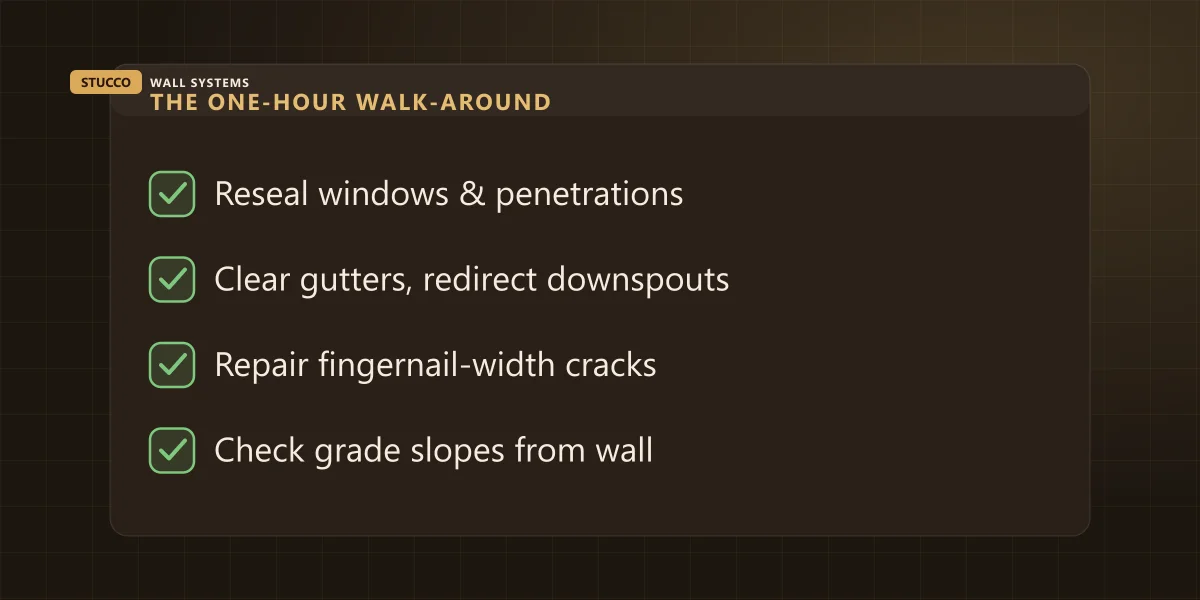
Four things: reseal windows, doors and penetrations if the caulk looks tired; clear gutters and point downspouts away from the wall; repair any crack you can catch a fingernail in; and confirm the grade still slopes away from the foundation. Walk the full perimeter, in daylight, and look — don’t just glance from the driveway.
| Task | What to look for | Why it matters before winter |
|---|
| Sealant check | Cracked, shrunk or missing caulk at windows, doors, vents, pipes | The most common way water gets behind stucco — and freeze-thaw finds every gap |
| Gutters & downspouts | Clogged gutters, downspouts dumping water against the foundation | Redirected water keeps bulk moisture off the wall face entirely |
| Crack inspection | Anything you can catch a fingernail in, especially at corners | A hairline in October is a wider crack by March if water gets in and freezes |
| Grade & drainage | Soil, mulch or paving that’s crept up toward the weep screed | Buried weep screeds trap water right where the wall meets the ground |
Why does sealant matter more than anything else on this list?
Because it’s the first thing to fail, and everything else on this list is really about managing what happens after it does. Caulk at a window frame or a pipe penetration is exposed to sun, movement and temperature swings that the stucco field never sees, so it dries out and shrinks years before the surrounding finish shows any age at all. Once it opens even a hairline gap, that’s a direct path for water to get behind a rigid, opaque wall system it can’t escape from easily — I go through why that hidden path does so much damage in 6 signs water is behind your stucco.
Run a thumbnail along every window and door frame and every spot where a pipe, hose bib, light fixture or vent comes through the wall. If the caulk has pulled away, cracked, or you can press a fingernail into a gap, it needs to be cut out and replaced — not caulked over on top. This is a $20-tube-of-sealant job for most houses, and it’s the cheapest insurance a stucco wall gets all year.
What should downspouts and grading be doing before winter?
Downspouts should discharge water at least a few feet clear of the foundation, and the grade around the house should slope away from the wall, not toward it. Clogged gutters overflow straight down the wall face; a downspout that dumps at the foundation soaks the exact spot where the stucco meets the ground — the hardest area to inspect and the easiest to damage quietly.
This isn’t a stucco-specific rule — it’s the same principle behind every wall assembly. Canada’s housing agency, CMHC, has written for decades that moisture management around the foundation is the single biggest factor in how long any exterior wall lasts, and a lazy downspout undoes that faster than almost anything else a homeowner controls directly. On older subdivisions in Erin Mills and Meadowvale I still find original 1980s downspouts aimed straight at the wall — a five-minute extension elbow fixes decades of slow damage.
Check the grade at the same time. Mulch beds, new paving stones or just years of soil creep can quietly bury the weep screed — the bottom edge of the wall system that’s supposed to let trapped moisture drain out. Bury it, and you’ve turned a drainage detail into a dam. A few inches of clearance is all it needs.
Which cracks need fixing now, and which can wait until spring?
Anything you can catch a fingernail in should be repaired before winter, not monitored through it. Fine hairline “map” cracking on a sound wall can usually wait for a warmer repair window, but a crack that opens under a fingernail is already wide enough for water to get in — and our freeze-thaw cycles will pry it wider all winter, not leave it alone.
I’ve written a full breakdown of which crack patterns mean what and why our climate is so hard on them in why stucco cracks in GTA winters — worth a read if you found more than one on your walk-around. The short version for a fall checklist: a fingernail-width crack today is cheap. The same crack after a winter of freeze-thaw, opened wider and letting water in behind it, is a different repair entirely.
What does skipping this hour actually cost you?
Nothing, most years — that’s exactly why it’s easy to skip. But when it does bite, it bites in the difference between a caulking tube and a repair invoice. The hour itself costs nothing beyond your time; the cracks and gaps it catches cost a few hundred dollars if repaired promptly. Left through a winter, the same problems routinely become thousand-dollar repairs by spring.
| Situation | Typical cost | Timing |
|---|
| This fall check, done yourself | $0 – an hour of your time | October, before the first hard frost |
| Fingernail crack, repaired promptly | $300–$800 | Caught early, before it opens further |
| Same crack, ignored through winter | $400–$1,200+ | Freeze-thaw widens it into a bigger repair |
| Water damage from a buried weep screed or dead sealant | $1,500–$5,000+ | By the time a stain or soft spot shows up |

Environment and Climate Change Canada’s climate normals put the GTA’s first hard frost typically somewhere in October, which is the practical deadline for this walk-around — see the official climate normals at climate.weather.gc.ca for your specific area. After that, cement patching and acrylic finish coats can’t cure properly outdoors, so anything you find gets stabilized rather than properly repaired until spring — I cover that seasonal cutoff in more detail in the best time of year for stucco work in the GTA.
How do you know if it’s already too late to fix something yourself?
If what you find is limited to sealant, a fingernail crack, or a downspout aimed at the wall, it’s a DIY fix or a small repair call, not an emergency. If you find bulging, staining that’s clearly grown, a soft spot you can press in with a thumb, or a musty smell along an interior wall, stop — that’s water already behind the finish, and it needs a moisture meter, not a caulking gun.
That distinction is the whole point of doing this walk-around yourself every fall: you’re not trying to diagnose or repair the serious stuff, you’re trying to catch it early enough that it never becomes the serious stuff. Most houses I check in the fall need nothing more than a tube of sealant and five minutes with a downspout extension. The ones that don’t are exactly the ones worth catching in October instead of March.
What if your walk-around turns something up?
Photograph whatever you find, note the date, and send it over — we’ll tell you honestly whether it’s a weekend fix or something that needs a proper stucco repair before winter closes the window. Send us the address and a few photos and we’ll give you a straight answer, for a home or a commercial building anywhere across the GTA. You can see what a properly matched repair looks like in our project portfolio — the goal of catching it in the fall is that it never needs to look like a repair at all.