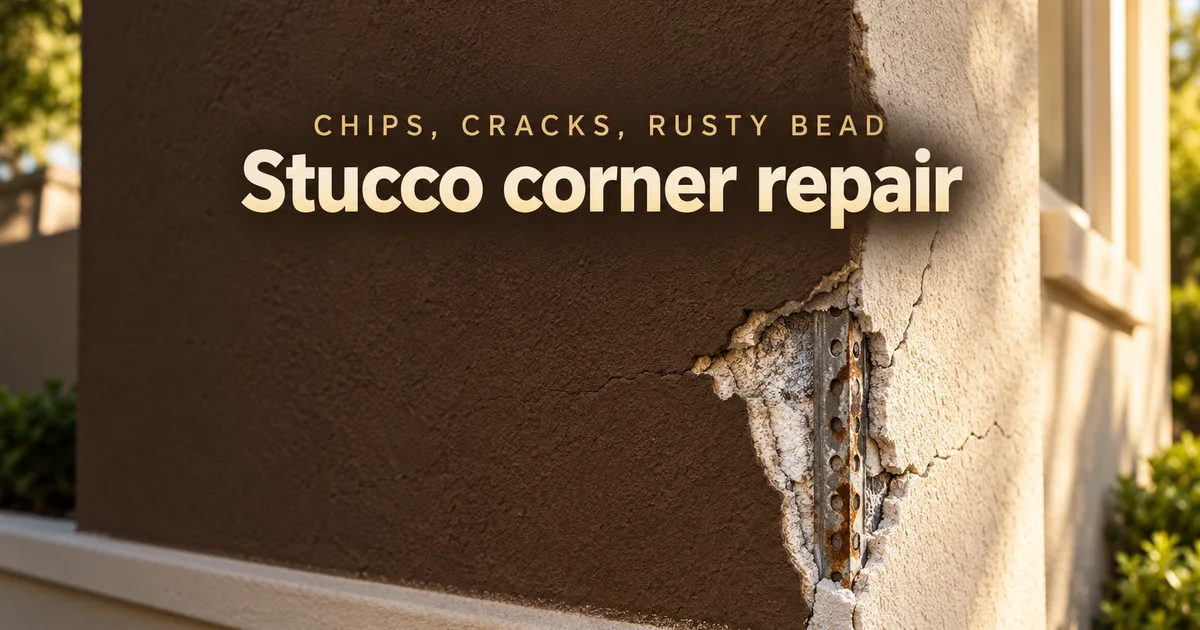
The corner of the garage is usually where it shows first: a chunk gone at bin height, or an orange line running down the edge. People call me expecting a dab of patch, and sometimes that's all it takes. Other times a stucco corner repair means cutting out a piece of wall and replacing the metal edge inside it. From the driveway the two look about the same. The bills don't.
With 25+ years on the tools I can usually sort out which one you have from a couple of photos. Below are the checks I do myself, how much wall really comes off, what goes back in and what each version costs on our price list.
Why do stucco corners break before the rest of the wall?
An outside corner has the thinnest cover on the wall and the most exposure. On cement stucco a metal corner bead sits just under the surface, with weather working on it from two faces. Anything travelling around the house hits the corner first, and once the cover cracks, water reaches the metal.
Around the GTA the usual suspects are the recycling bin, the ladder, the snow shovel and the kid's bike. Salt splash doesn't help either, since the bottom of a garage corner can sit wet for weeks in winter. Steel also swells as it rusts, which pushes more cover off and exposes more steel, so a small chip left for three winters tends to grow into a long run. If the marks on your wall aren't only at the corners, my post on where rust stains on stucco come from sorts them by source.
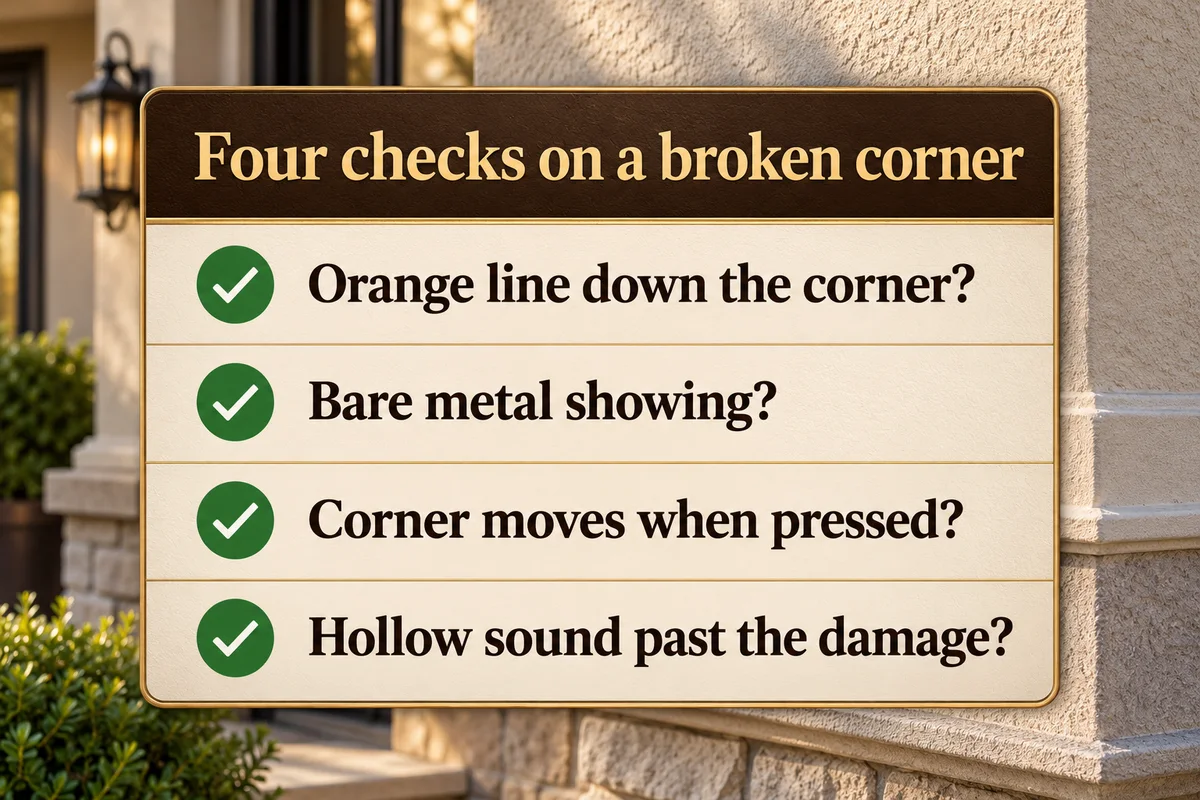
Four checks that tell you which job you have
You need your eyes and one thumb. Go in this order and stop at the first yes, because each answer overrules the ones after it.
Is there an orange line down the corner?
Look along the edge from a few feet back, in daylight.
Yes means the bead is rusting under the finish. That section gets replaced, and someone needs to find out how the water reached it, starting with whatever is above the corner.
Can you see bare metal in the break?
A grey or silver edge with small holes along it is the bead.
Yes means the cover is gone. Clean, straight metal can be covered again this season. Metal that is bent or creased comes out.
Does the corner move when you press it?
Use your thumb on the edge, a hand's width from the damage.
Yes means the bead or the stucco around it has let go. Filling over a corner that moves gets you the same crack back after the next hard frost.
Does it sound hollow past the damage?
Knock with a knuckle a foot above and a foot below the chip, then on a good part of the wall.
Yes means the coat has come away further than you can see, so the opening will be bigger than the chip. A wall that sounds hollow everywhere, with foam in the break, is EIFS and has its own section below.
Four no answers: you have a surface chip on a sound corner. That's a patch and a texture match, and it can wait for a dry, mild week.
How much wall comes off to replace a corner bead?
More than most people expect. Two manufacturers' repair instructions ask for the stucco to be opened at least 6 inches above and below the damaged metal and at least 4 inches from the corner each way. So a rusted run 4 feet long turns into an opening about 5 feet tall and 8 inches wide.
The dashed line is the cut for a 4 ft rusted run: 5 ft tall and 8 in wide, about 3.3 sq ft of wall shared between two faces.
The extra width gives room to wire the new metal to sound lath, and the extra height lets its ends land on bead that isn't rusting. The $99 patch-and-pray crew skips all of it: a wire brush, a smear over the rust, a coat of paint and a van leaving the driveway. The steel under that paint is still rusting, so the orange line comes back.
The order of the work on a cement corner
Hold a quote up against this sequence. It follows the Sika bulletin, and a crew can tell you where each step sits in their schedule.
Mark the opening, then take out the stucco and the damaged bead down to the lath.
Check the lath and the water barrier behind it, and repair anything torn on the way in. Wet sheathing at this point makes it a bigger job, and you should hear about that before anyone closes the wall.
Wire the new bead to the lath, with its ends set in sealant. Sight it against the beads above and below, because a corner that kinks shows from the street.
Put bonder on the old stucco edges, then pack base coat behind the bead so no void is left. Stucco thicker than half an inch goes on as a scratch coat and a brown coat.
Keep the new base damp and leave it for 6 days.
Apply base coat with mesh, carried out to a natural stopping place, then the finish.
A corner opened and finished in one afternoon has skipped step 5. The same bulletin also admits that a repair can stay visible, since old colour and texture are hard to hit exactly. I go through how to deal with that in why stucco patches show and how to hide them.
Plastic or metal: which bead goes back in
Plastic doesn't rust, so online advice tends to say use plastic everywhere. On a cement finish that's the wrong call. Mark Fowler explains why in his Walls & Ceilings article on the two finishes: cement sticks to a PVC nose without bonding to it and eventually pops off the corner.
Finish on your wall
What I put back
Reason
Cement finish coat
Bead with a wire nose
Cement bonds around the wire and stays on the edge
Acrylic finish over a cement base
Bead with a PVC or plastic nose
Acrylic bonds to plastic, and no wire sits near the surface to rust
Acrylic finish over foam (EIFS)
Usually no bead at all
Mesh wrapped around the foam makes the corner
EIFS corners have no rusty bead to replace
If the break shows white or grey foam instead of metal, you're looking at EIFS. The corner is foam board with fibreglass mesh wrapped around it, and the finish on top is only about an eighth of an inch thick. So everything above about cutting to the lath doesn't apply.
The repair is to cut back to sound material, fill the foam, lap new base coat and mesh onto the old, and finish in a matching tint. Foam left open to a winter takes on water, so don't leave a hole in it until spring. Our EIFS repair page covers the rest, and if the same corner keeps getting hit, my post on impact damage low on the wall explains the heavier mesh that goes at bin height.
What does stucco corner repair cost in the GTA?
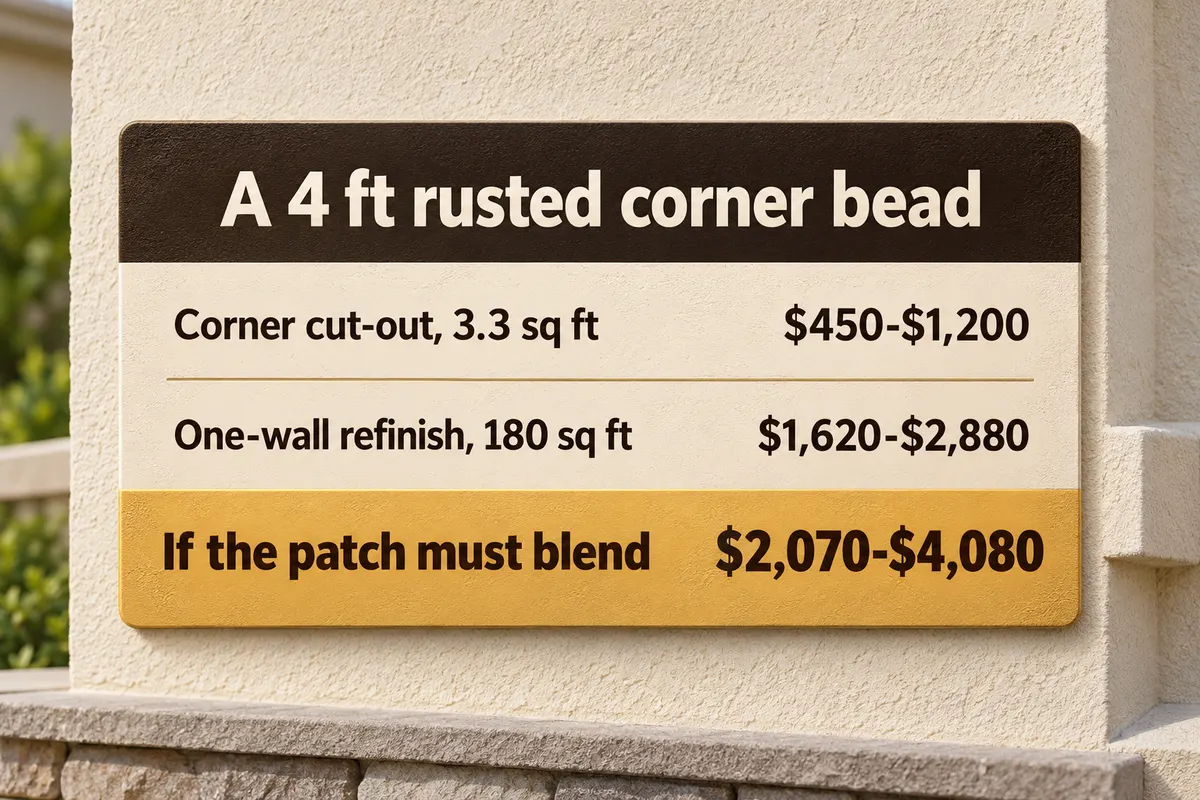
A chip on a sound corner or a short bead replacement falls under our patch and texture match line, $450 to $1,200. A crack along a solid corner is $120 to $400. If the patch has to blend into an aged finish, refinishing that wall out to its edges adds $9 to $16 a square foot.
What the corner needs
Line on our price list
Price
Crack along the corner, bead solid
Crack repair, routed and meshed
$120 to $400 each
Chip patched, or a section of bead replaced
Patch and texture match, up to about 20 sq ft
$450 to $1,200
Open joint where the bead meets a window or trim
Sealant renewal
$6 to $12 per linear ft
Wet sheathing found behind the corner
Section rebuild
$18 to $34 per sq ft
Patch shows on a faded finish
Full elevation refinish
$9 to $16 per sq ft
Work it through with that rusted 4 ft run on a garage corner. The 3.3 sq ft opening sits on the patch line. If the wall has an integral colour that hasn't faded much, that may be the whole bill. On a tired finish, the side of the garage at 20 ft by 9 ft is 180 sq ft, or $1,620 to $2,880 to refinish, which brings the two together to $2,070 to $4,080. The full list is on our stucco repair page, and your own number comes as a fixed written quote once the corner has been looked at.
What to do with a broken corner in November
Base coats and acrylic finishes need sustained temperatures above about 5°C, and a corner that needs a 6-day cure is running out of weather by now. A surface chip can sit until April. Bare metal, a corner that moves or open foam should be covered and kept dry over the winter, and the list of what can still be done in the cold is in my November stucco prep post.
Keep the snow pile off that corner this winter and rinse the salt off the bottom of it on the first mild day. Then send me two photos through the contact page, or by text to (905) 973-6470: one close up, one from ten feet back so I can see what's above it. I call back usually within a day. If you're in Halton, the Oakville stucco page shows the areas we cover there.
FAQ
Quick answers
Can I fix a chipped stucco corner myself?
A small surface chip with solid stucco around it can take a patch compound made for exterior stucco, and the worst outcome is a patch you can see. Once metal is showing, the corner moves under your thumb or there is rust, the bead needs work, and a tub of patch will not hold over it.
Why is the corner of my stucco house rusting?
Cement stucco usually has a metal corner bead on each outside corner, close under the surface. When a chip or crack lets water reach it, the steel rusts and bleeds an orange line down the edge. Look above the corner too, because the water may be getting in higher up.
Will rust primer stop a rusty stucco corner?
It can slow a light surface rust for a while, but it does not close the crack that let the water in or bring back metal that has already been eaten. For a bead that is flaking or has lifted the stucco, the rusted section has to come out.
How long does a corner bead repair take?
The hands-on work is short, but the wait is not. Sika's bulletin calls for the new base to be moist cured for 6 days before mesh and finish go on, so plan on at least a week from the first cut to the last coat, in weather above about 5 degrees C.