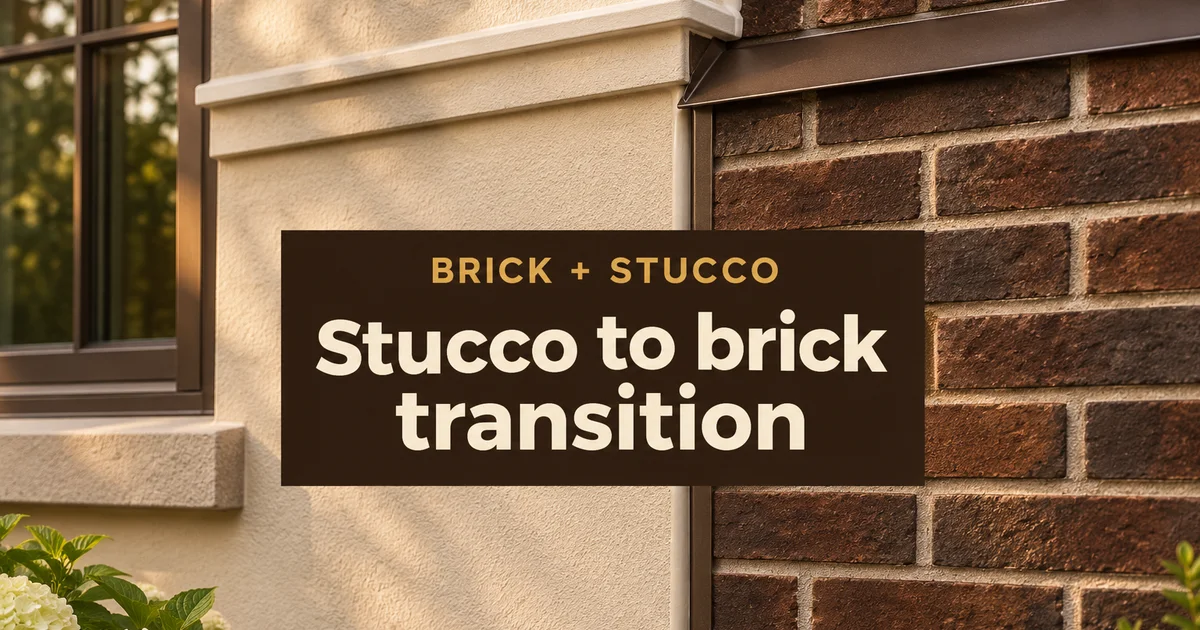
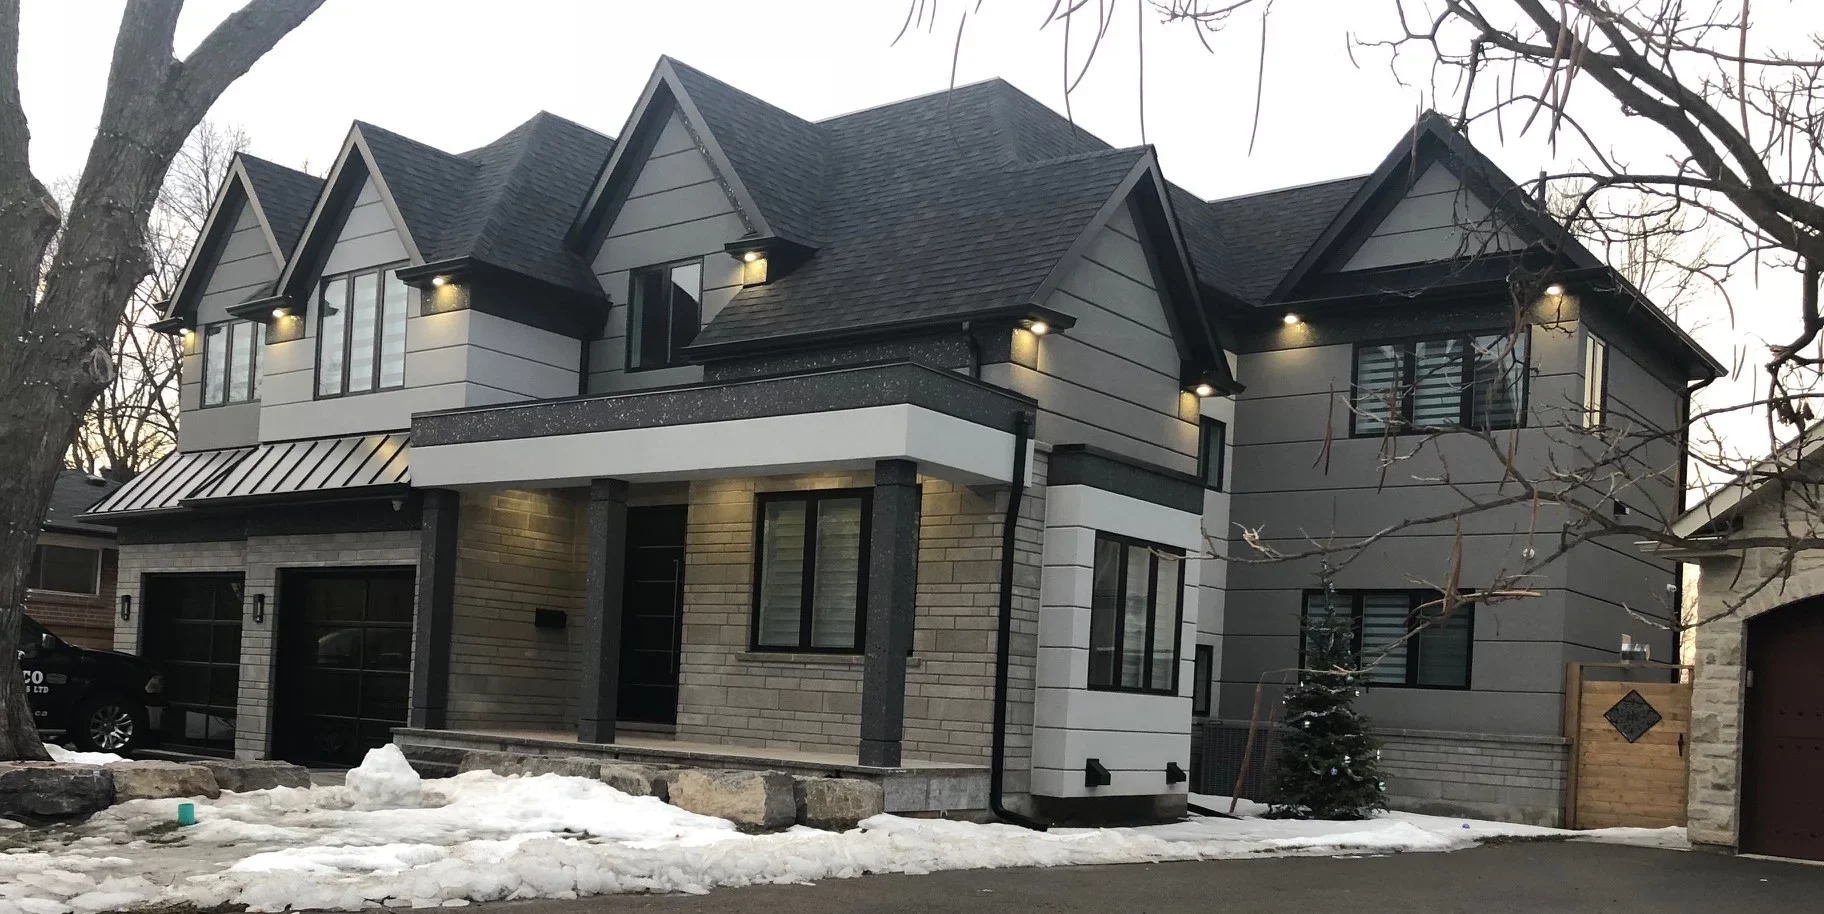
Drive through any subdivision built in the GTA between the late 1980s and the 2000s and you'll see the same house over and over: brick on the ground floor, stucco or foam EIFS on the second floor, and a dead-straight line where the two meet. That stucco to brick transition is one of the most common places I open a wall, and the reason is simple. The top of the brick is a shelf, and water sits on shelves.
Most homeowners never think about this line until a dark band shows up just above it, or a ceiling stain appears in a room that has no window near it. After 25+ years of cutting these joints open, I can tell you what should be inside one, how to read yours from the driveway, and what it costs when a piece is missing.
What should be at the joint where stucco meets brick?
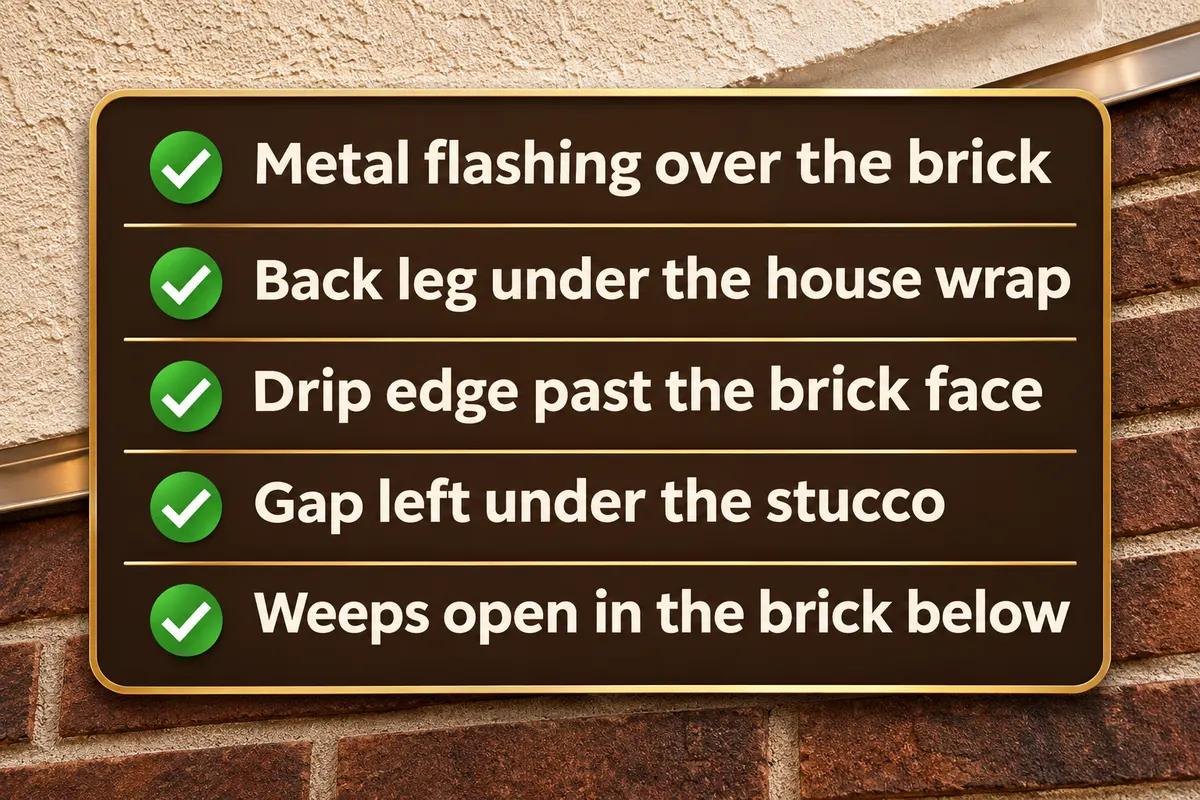
A sloped metal flashing that covers the top of the brick, turns up behind the house wrap and ends in a drip just past the brick face. The stucco stops a little above that metal, on its own bead, with the gap left open so water behind it can get out. Caulk does not replace any of it.
The reason it matters is the shape of a brick veneer. A brick wall stands about an inch off the sheathing with an air space behind it, and the brick itself is close to four inches deep. The stucco above sits right on the sheathing. So where the brick stops, there is a flat top several inches wide sticking out from the wall. Every drop that runs down the second floor lands on it.
The National Research Council's note on National Building Code Sentence 9.27.3.8.(1) gives the purpose of flashing at horizontal joints in cladding in one line: to limit rain and meltwater getting in, because that water leads to rot in the wall. Below is the joint read from the top down, the way I see it when the stucco comes off.
- 1. House wrap on the sheathingIt has to lap over the back leg of the flashing, like shingles. If the flashing sits on top of the wrap instead, water running down the wrap goes behind the metal.
Put on by the framer or the stucco crew
- 2. The bottom edge of the stucco or EIFSCement stucco ends on a metal casing bead or weep screed. A foam wall ends with the mesh wrapped around the bottom of the board. Either way it stops short of the metal below, so it never sits in water.
Stucco or EIFS crew
- 3. Metal flashing over the brickSloped out toward the yard, its back leg turned up behind the wrap, its front edge bent down into a drip that clears the brick face. The ends are folded up so water can't run off the side and into the wall.
Usually the stucco crew or the roofer, sometimes nobody
- 4. The top course of brickSolid, with full mortar under the flashing. A top course laid flat with a gap at the back gives water a path straight down the cavity.
Mason
- 5. Air space and weeps at the bottom of the brickWhatever gets behind the brick drains down this space and out the weep openings near the foundation, so those have to stay open too.
Mason
Notice the trade names. Three crews touch this one joint, and the metal in the middle belongs to whoever remembers it. I explain the general idea in my post on what flashing does on a house. This is the spot where it gets forgotten most.
Two different joints, two different fixes
Not every stucco and brick line is a ledge. Look at your house and figure out which kind you have, because one needs metal and the other needs a good sealant.
Horizontal: stucco above brick
The usual GTA two-storey, and the front of many bungalows with a stucco gable. The joint runs the full width of the wall.
It fails when the flashing is missing, sloped back toward the house, cut short of the brick face, or buried under caulk. Water soaks the bottom of the stucco and drops into the wall.
What you see from the ground: a dark or crumbly band in the bottom few inches of stucco, and streaks down the brick under it.
Vertical: stucco beside brick
Brick on the front face, stucco on the sides, meeting at a corner or along a bay window. Water runs past this joint instead of sitting on it.
It fails when the sealant dries out and splits. The two materials grow and shrink at different rates through a winter, so the joint has to stretch.
What you see from the ground: a black hairline at the seam, or a bead of caulk peeled away from one side.
How can you tell if the flashing is missing?
Stand back on the driveway and look at the top of the brick. You should see a thin line of metal, often painted to match, sticking out a little past the brick face. If the stucco runs straight down onto the brick, or you only see a fat bead of caulk, there's probably no working flashing in there.
Binoculars help on a two-storey, and so does a dry morning after a rain, when the wet spots haven't dried yet. Then match what you see to this table.
| What you see | What it usually means | How soon |
|---|
| No metal edge at all, stucco tight to the brick | No flashing, or one hidden behind the stucco with nowhere to drain | Have it looked at this year |
| A metal edge that tips back toward the wall | Water is led into the joint, not away from it | This year |
| Dark band or crumbly stucco in the bottom 2 to 6 inches | The bottom edge is soaking up water off the ledge | Soon, before more freeze-thaw cycles |
| Long white or rust streaks down the brick face | Water is coming out of the joint and running over the brick | Soon; the stain points at where it leaks |
| Stucco sounds hollow when you knock just above the brick | The coat has let go of the wall behind it | Now; read my post on bulging stucco |
| A stain on the ceiling or wall inside, at floor level of the second storey | Water is getting past the joint into the framing | Now |
White streaks deserve one more look, because they can come from salts in the mortar as well as from a leak. My post on white stains on stucco shows how to tell the two apart.
The bead of caulk along the brick is not a repair
The most common thing I find on this joint is a thick line of caulk run from the stucco down onto the top of the brick. Usually somebody saw a gap, thought it was a defect and closed it. Sometimes it's the $99 patch-and-pray crew, who can seal a whole front in twenty minutes and be gone before it rains.
That gap is the exit. Water that gets behind the stucco runs down the wrap and is meant to leave right there, over the flashing. Caulk it shut and the water stays in the wall, at the bottom, where the sheathing and the rim joist are. I've cut out joints that looked tidy from the street and found black wood behind them. In my post on which joints take caulk and which must stay open, this one is on the open list.
Why three trades miss the same joint
On a new house the brick goes up first, then the stucco or EIFS, often weeks apart and by different companies. Each crew assumes the flashing is someone else's job. The order below is what has to happen for the joint to work, and each line shows what you get when that step is skipped.
| Step, in order | Trade | If it is skipped |
|---|
| Top course of brick laid with full mortar, level | Mason | Water drops into the cavity from the top |
| Flashing set on the brick, sloped out, ends folded up | Stucco crew, roofer or general contractor | The ledge holds water against the wall |
| House wrap lapped over the back leg of the flashing | Framer or stucco crew | Water behind the stucco runs behind the metal |
| Casing bead or backwrapped foam edge, held above the metal | Stucco or EIFS crew | The bottom edge wicks water and crumbles |
| Gap above the metal left open, no caulk | Stucco crew, and every painter after | Water is trapped inside the wall |
On an existing house, the repair has to put those layers back in the same order. That means opening a strip of stucco above the brick, so the wrap can be lapped properly over new metal. A flashing glued onto the face of the old wall, with the stucco left tight on top, is just a shelf on a shelf.
What does fixing a stucco to brick joint cost?
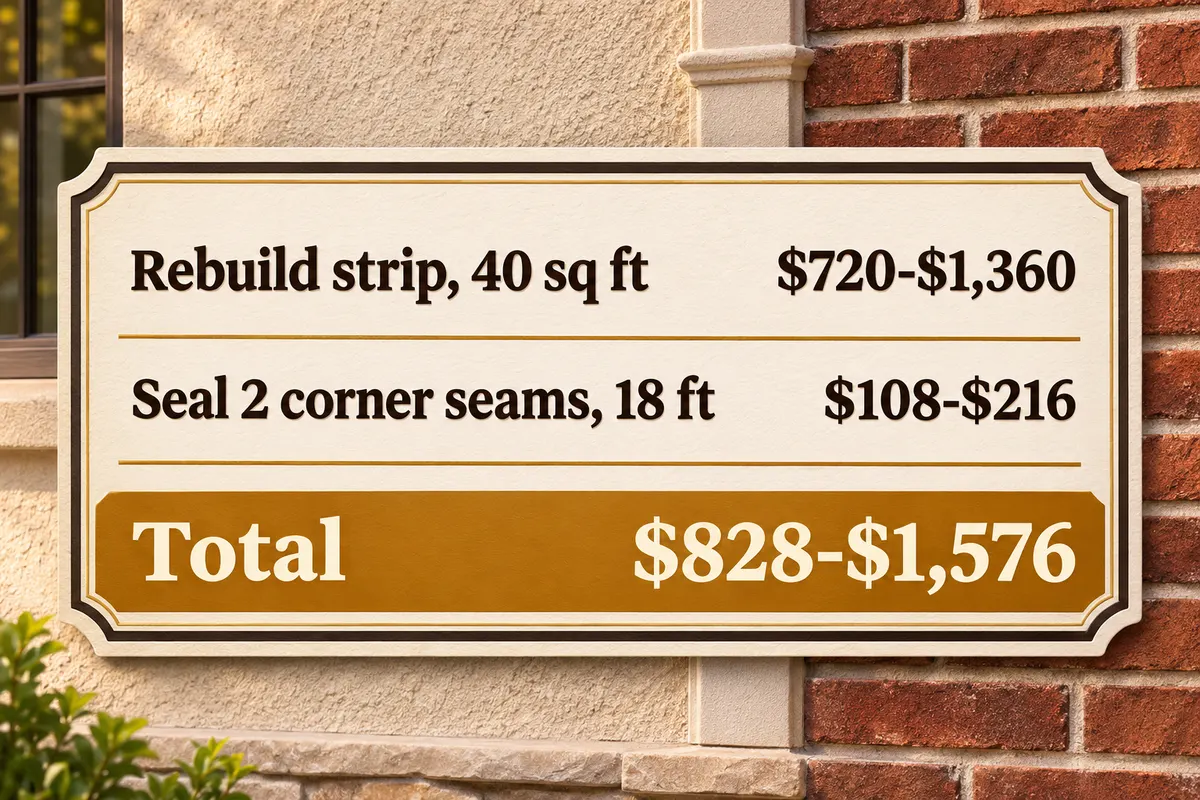
A vertical seam that only needs new sealant runs $6 to $12 per linear foot. Where the horizontal flashing is missing, a strip of stucco above the brick is cut back, flashed and rebuilt at the section rebuild price of $18 to $34 per square foot. Hidden rot raises it.
Those are lines from our stucco repair price list. On a foam wall the strip is replaced in EIFS, which I price after a look (see the EIFS repair page). Below is one front worked through, with sizes I picked as an example.
Say the house is 40 feet wide with brick on the ground floor and stucco above, and the joint has no flashing. A strip 1 foot high is opened along the full width: 40 sq ft at $18 to $34 comes to $720 to $1,360. The two corners where the stucco side walls meet the brick front need new sealant, 9 feet each, so 18 linear feet at $6 to $12 adds $108 to $216. That front lands at $828 to $1,576, if the sheathing behind is sound. Soft wood found behind the stucco gets replaced first, and the quote says so before anyone starts.
Compare that with a ceiling repair plus a rebuilt rim joist a few years later, and the strip is the cheap option. A new stucco job on a whole house is a different number, priced per square foot on our residential stucco page, and that's when this joint should be built right from the start.
Spotted it in November?
Cement needs warmth to cure, so in the GTA the rebuild itself waits for spring. The looking doesn't. Take your photos now, while the rain and the first frosts show you exactly where the wet band sits, and keep snow and ice from piling on that ledge over the winter.
Send me a photo of the joint from the driveway and one close up through the contact page, or text them to (905) 973-6470. Tell me the year the house was built and whether the upper wall is hard stucco or foam. I call back usually within a day, anywhere across Halton, Peel, Toronto and York region, and the written quote is free and fixed.