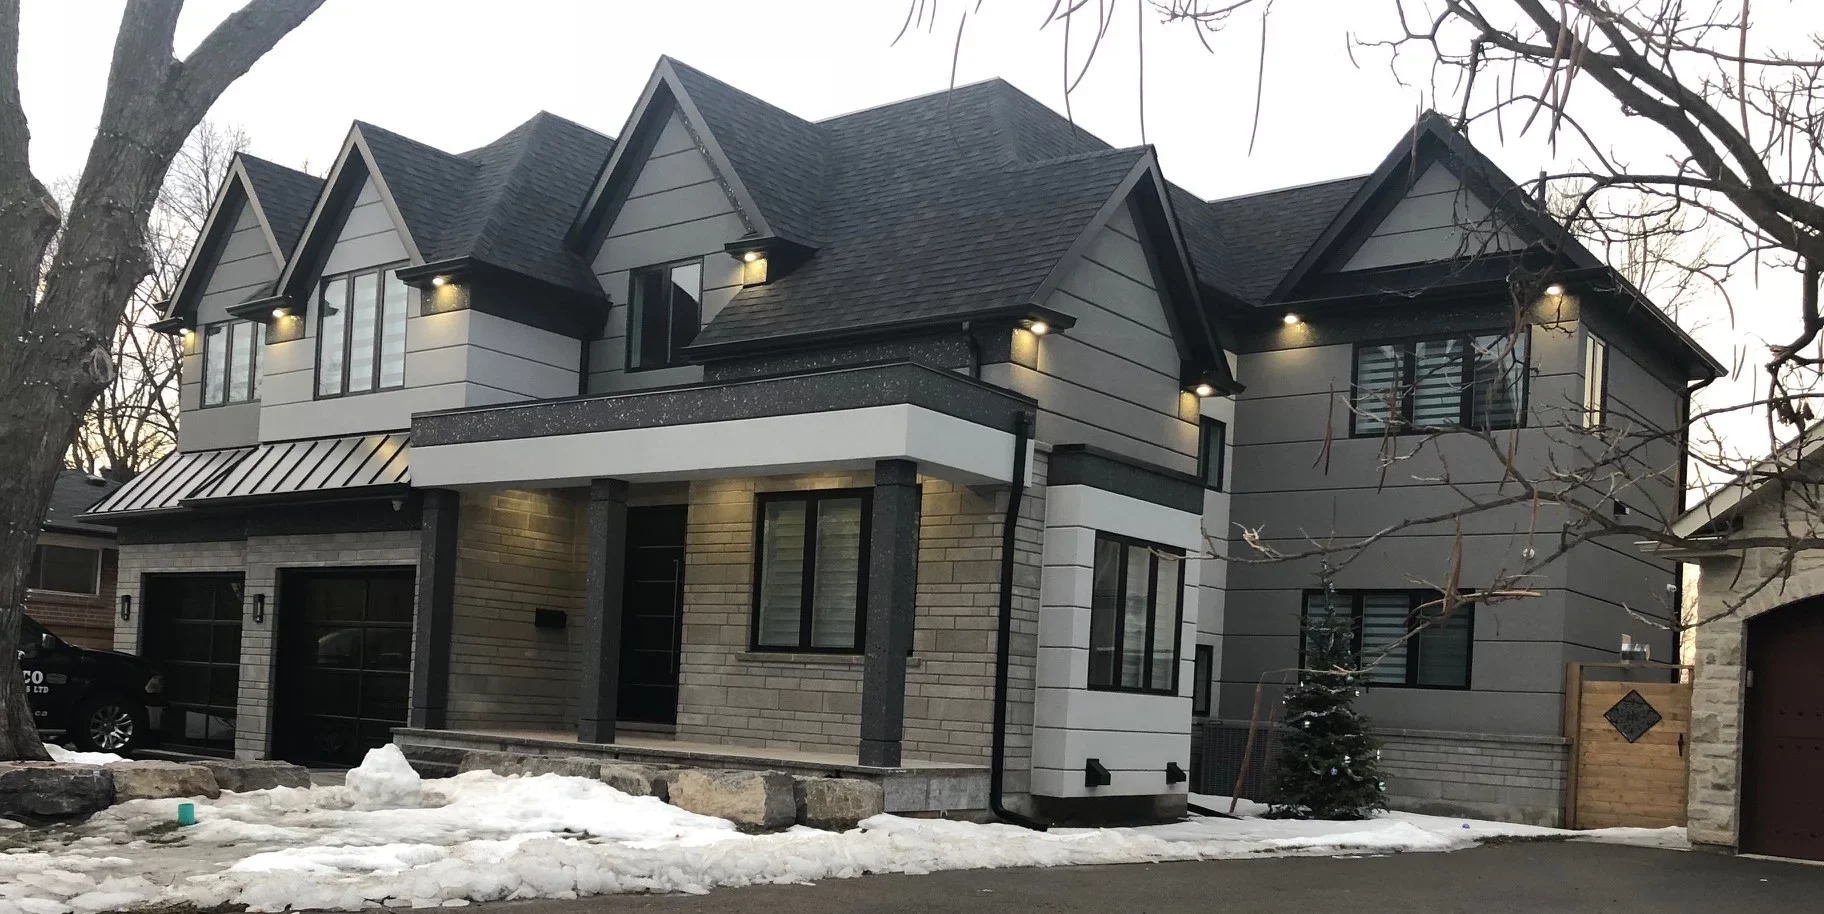
A Tudor gable has more joints than any other wall on the house. Every dark board, whether it runs up, across or on the diagonal, meets plaster along both of its edges, and each of those meetings is a place where wood and cement disagree about the weather. Half-timber stucco repair is mostly about those edges, because the plaster panels themselves often stay sound for years after the joints around them have opened. On the 1920s and 1930s Tudor Revival streets I wrote about in the guide to stucco styles by GTA neighbourhood, The Kingsway being the obvious one, the first thing an owner usually notices is a dark line running along a board, or paint lifting off the bottom foot of one.
Why does the stucco open up along the boards?
Because wood and stucco move differently. A board swells when it soaks up rain and shrinks again as it dries, mostly across its width, while the cement coat next to it barely moves at all. After enough seasons a gap opens along the edge, water gets into it, and every winter the freezing water pushes it a little wider.
The gap is small, often thinner than a bank card, but it sits on the part of the house that faces the weather with no overhang to shelter it. The horizontal boards suffer first, because their top edge is a little shelf: rain lands on it, runs back to the joint and waits there. The diagonal braces carry water down to their lower end and drop it into the corner where they meet a horizontal board. A vertical board sheds water nicely until you reach its bottom end, where bare end grain sits on a ledge and drinks.
Paint decides a lot of this. A board that was primed on all four sides and both ends before it went up takes on far less water than one painted only on the face. Once the paint has peeled off the lower foot of a board, that foot swells with every rain and shrinks with every dry spell, and the joint beside it gets worked open twice as fast as the rest of the gable.
Three ways the boards meet the plaster
Not every half-timbered wall was built the same way, and the build decides where the water goes. Before anyone quotes a repair, it helps to know which of these you are looking at.
| How it was built | What you see from the ground | Where water gets in | What usually fixes it |
|---|
| Boards fixed on top of the finished stucco | Each board stands proud of the wall by its full thickness | The top edge of each board and the nails or screws through it | Sealing the top edges and the fastener holes; the plaster behind is rarely the problem |
| Boards set flush, stucco packed between them | Wood and plaster in one flat plane, a fine line at every edge | Every edge, all the way round each panel | New sealant along the edges, then crack and patch work where a panel has let go |
| Boards set first, plaster lapped slightly over their edges | The plaster looks like it runs a few millimetres onto the board | Wherever the lapped edge has cracked away from the wood | Rebuilding the lapped edge with mesh, not caulking over the crack |
To tell which one you have, look at a board side-on from a window or a short ladder. If you can see its thickness standing out from the wall, it is the first kind. If a fingernail slides from wood to plaster with no step, it is one of the other two, and the difference is whether the plaster edge stops against the board or sits on top of it.

What is each part of a board telling you?
Read one board from top to bottom. A hairline along the top edge is a sealant job. Paint peeling off the bottom end means the end grain is soaking. A board that dents under a thumbnail or sounds dull when you tap it is rotting, and the plaster panel beside a rotten board needs checking too, because it has been wet as long as the wood.
The top edge
A dark line between the board and the plaster above it, sometimes with moss or dirt packed in.
The joint has opened and holds water after every rain. On a sound board this is the cheapest fix on the whole gable.
The side edges
Old caulk split down the middle or pulled off one side, leaving a clean strip of wood or plaster.
That sealant is finished. On these joints it wears out long before the plaster does.
The bottom end
Paint lifting in flakes, wood darker than the rest of the board, small splits running up the grain.
The end grain is soaking. Push a screwdriver tip in gently, and if it sinks, that part of the board is soft.
The plaster panel
Cracks running corner to corner, a patch that sounds hollow when you knock, staining below a board.
Water has been behind the coat. A cracked but solid panel takes a crack repair; a hollow or soft one gets rebuilt.
Do this in late fall or early spring, after a few days of rain. Wet wood shows its soft spots better than dry wood, and an open joint reads dark against a plaster panel that has already dried.
Can the plaster panels be repaired without touching the boards?
Often, yes. A sound board with an open edge only needs the joint cleaned out and resealed, and a cracked panel can be routed, meshed and refinished on its own. The boards come into it when one is soft, split right through or loose, because fresh plaster against rotten wood fails along the same line within a couple of winters.
The arithmetic is friendlier than most owners expect. Our price list on the stucco repair page puts sealant renewal at windows, doors and trims at $6 to $12 per linear foot, and the boards of a half-timbered gable are trim in every sense that matters. Add up both edges of every board and a gable might carry 60 feet of joint, which comes to $360 to $720 at that rate. A cracked panel that is still solid is a $120 to $400 crack repair. A small failed area up to roughly 20 square feet, patched with the texture matched, runs $450 to $1,200, and a section that has gone soft is rebuilt back to the substrate at $18 to $34 per square foot. If you only need the joints done, our caulking and sealant work covers exactly that.
On a Tudor panel the finish coat is the hard part. Many of these gables carry a hand-trowelled or rough-cast texture that no standard finish reproduces as it comes out of the pail, and a smooth patch in a rough panel shows from across the street. I go through how a match is built up in the post on matching a stucco patch.
What should a rotten board be replaced with?
With something that holds its paint and stays put. New cedar looks right and takes the same paint or stain as the old boards. Cellular PVC trim does not rot but grows and shrinks along its length with heat. High-density foam with a cement coat matches the look and is set into the wall the way stucco trim is.
| Board material | Rot | Movement | Next to the old boards | What to watch |
|---|
| The original wood, kept and repaired | Already showing its age | Settled after 90-odd years on the wall | It is the original, so it matches | Paint on every face, end grain sealed |
| New cedar | Resists decay well | Swells and shrinks like the old boards | The closest match once painted | Prime all four sides and both ends before it goes up |
| Cellular PVC trim board | Does not rot | Grows and shrinks along its length with heat | Smooth unless a grain is chosen | Fasten it to the maker's spacing and leave room at the ends |
| High-density foam with a cement coat | Does not rot | Moves with the wall around it | Shaped and textured to match | Keep the coat whole; it dents if something hits it |
Mixing materials on one gable is fine as long as everything ends up the same colour, and from the sidewalk nobody can tell a painted cedar board from a painted foam one. The foam option is the one I get asked about most, and the post on foam trim repair shows how it fails and how it is fixed, which is worth reading before you choose it.
If your house is designated under the Ontario Heritage Act, or sits inside a heritage conservation district, changing what the boards are made of counts as an alteration, and that means a heritage permit before the work begins. The City of Toronto's
heritage permit guide explains when one is needed. Repairing like for like, cedar for wood and plaster for plaster, is usually the easier conversation.
What a quote for a Tudor gable should spell out
A gable like this is a dozen small jobs on one wall, so a one-line quote tells you nothing. Before you sign, the paper should answer these:
- Which boards are replaced, by count and position, and which ones stay.
- What the new boards are made of, and that they are primed on every side and both ends before they go up.
- How each board edge is sealed, with the sealant named.
- How the panels are repaired, routed and meshed or rebuilt, and how the texture will be matched to the panels left alone.
- How the crew reaches the work: a ladder may do for a low porch gable, while the peak of a two-and-a-half storey front needs proper staging. The post on scaffolding for stucco work covers what that adds.

A crew that offers to run a bead of white caulk over every joint on the gable in one afternoon is selling you a nice-looking April. On a Tudor front, the $99 patch-and-pray version is caulk smeared over a soft board, and by the next March you can watch it fail from the driveway. The joint looks closed, the water still gets in at the top edge, and the rot has another year to spread into the plaster beside it.
If a board on your gable is soft, a panel is lifting, or a dark line runs along every edge, take a few photos from the ground and send them through the contact page, or call (905) 973-6470. I usually call back within a day, and the quote you get is written, fixed and free.