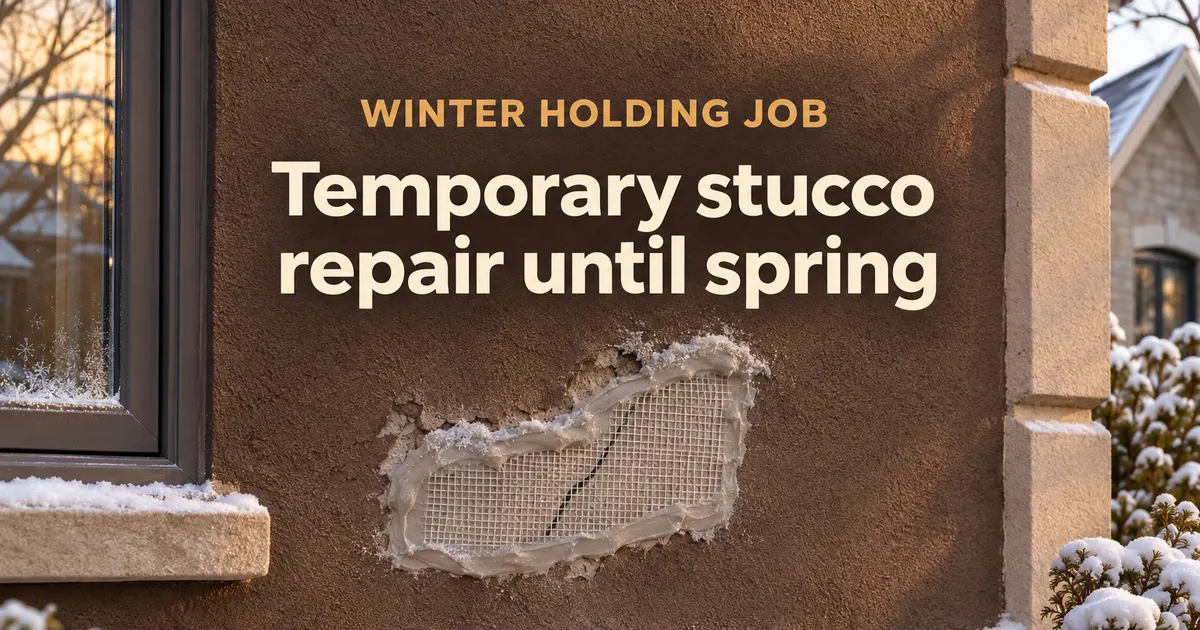
A piece of stucco lets go in the second week of December, and the weather has already taken a proper repair off the table. So a temporary stucco repair is the job in front of you. You need to keep water out of the opening, keep people out from under anything loose, and leave the wall so a crew can cut it back cleanly in spring.
On a hole you can reach, that's an afternoon with a stepladder and a drill. The harder part is what to leave alone. In 25+ years on GTA walls, I've chiselled plenty of winter fixes off a wall before I could start the real one, and the person paying for that chiselling is the homeowner who bought the tub in January.
Can stucco be repaired in winter?
Not with wet cement on an open wall. Ontario's Building Code wants the base kept above freezing and the stucco at 10°C or warmer during the work and for 48 hours after, which a GTA winter wall doesn't offer without a heated enclosure. What winter does allow is a cover, and sealant on a mild, frost-free day.
The rule is Article 9.28.6.1, shown here in its 2012 Code wording. The City of Regina's cold weather bulletin gives the same numbers from the National Building Code. This ladder turns them into what you can do today, with the sealant numbers taken from Sika Canada's data sheet for Sikaflex-1A, one common exterior polyurethane. Other brands print their own limits on the cartridge.
Below 0°C, or frost on the wall
Covers only. Nothing wet goes on. Sika asks for surfaces that are clean, sound and frost-free, and a cement mix would freeze before it set.
0 to 4°C
Still covers only. Sikaflex-1A lists 4°C as the bottom of its application range.
4 to 10°C, dry and frost-free
Sealant in an open crack, if the cartridge spent the night indoors. Sika wants it at about 21°C for cold weather use. No cement patch yet, because the Code's 10°C has to hold for 48 hours after the work.
10°C or warmer, nights included
Repair weather. This is when a crack gets routed and meshed and a hole gets its base and finish coats.
A January thaw fools a lot of people. The air reads 8°C at lunch while the wall is still cold, and that night goes back under zero. In his Walls & Ceilings article on cold weather plastering, Michael Griffin warns that plaster which froze on the wall can end up so weak "you can rub it off" by hand. My month-by-month stucco calendar shows when the real window opens again.
What does each kind of damage need until spring?
Less than you'd think, in most cases. A dry crack needs a pencil mark and a date. A missing piece needs a cover this week, foam showing needs one sooner, and anything loose over a door needs people kept away from it today. Find your line below. The last column is the spring job from our stucco repair price list.
| What you see | What to do until spring | Spring line on our list |
|---|
| Hairline crack, dry, no stain | Pencil a mark across each end and write the date beside it | Crack repair, $120 to $400 each, if it needs one at all |
| Crack that catches your fingernail | Sealant on a frost-free day at 4°C or warmer | Crack repair, $120 to $400 each |
| Chip in the finish, nothing showing behind it | Leave it, and keep the snow pile off that wall | Patch and texture match, $450 to $1,200 |
| Piece gone, with paper or wire lath showing | Cover it this week | Patch and texture match, $450 to $1,200, up to about 20 sq ft |
| Piece gone, with white or grey foam showing | Cover it right away, because open foam takes on water | Priced after a look, see our EIFS repair page |
| Soft bulge, or a loose piece above a door or walkway | Keep people clear and call | Often a section rebuild, $18 to $34 per sq ft |
| Stain or damp drywall on the inside of that wall | Find where the water starts and call | Often a section rebuild, $18 to $34 per sq ft |
How do you cover a hole in stucco for the winter?
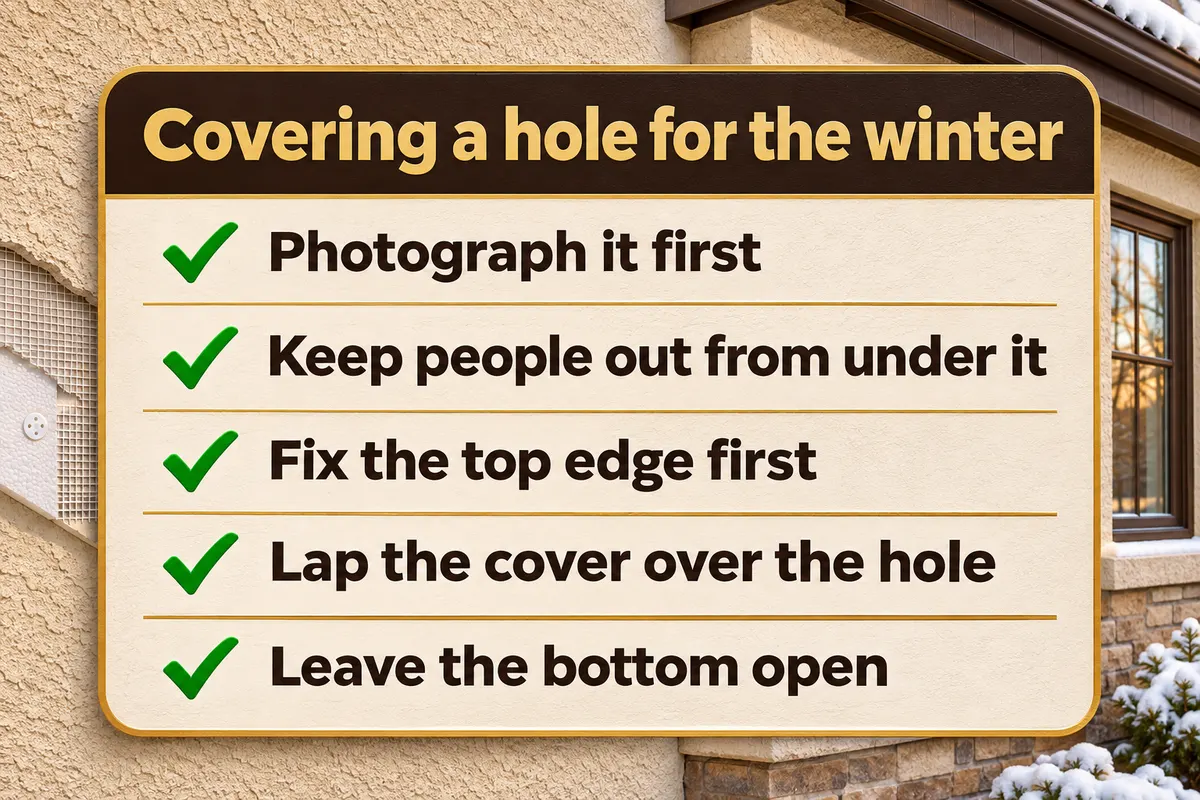
Use a piece of housewrap or a similar weather barrier, lapped so water runs over it and never behind it. Fix the top edge first, carry the sides well past the break and leave the bottom open so anything that gets behind can drain out. Keep your screws close to the break, in stucco that's coming off anyway.
Regina's bulletin names the Tyvek and Typar families as commonly used for temporary protection of a whole unfinished house, and it tells builders to use the maker's tape and fasteners so the wrap doesn't tear in wind. On a small hole the same material works, and a pair of wood strips does the holding, since tape won't grip a rough finish for long.
- Take your photos before anything touches the wall: one close up, one from ten feet back. If a branch, a truck or a falling chunk of ice did this, phone your insurer too, and read my post on stucco insurance claims in Ontario before the permanent repair. Keep the receipts for what you buy today.
- In a condo or a townhouse, tell the corporation first. The outside wall may not be yours to touch, as I explain in who pays for stucco repair in a condo or townhouse.
- Stand on the ground, or on a stepladder on dry, level ground. Ice on a ladder is how a small repair turns into a broken wrist, and a hole higher than that is a job for someone with proper access.
- Pull away only what comes off in your hand. Don't pry at the edges, since each piece you lever off makes the opening bigger.
- Cut the wrap a foot wider than the hole on each side, and longer at the bottom.
- Screw a wood strip across the top edge with exterior screws, close above the break. Run a bead of sealant along its top edge if the day is warm enough.
- Add a strip down each side. Leave the bottom hanging free.
What I end up chiselling off in April
Each of these looks like progress on the day. Every one adds time to the spring repair, because it has to come off before anything new can bond. The $99 patch-and-pray crew loves the first row: the hole looks closed by the time the van leaves, and the bill for the freeze shows up after the van is long gone.
| What goes on | Why it tempts people | What it leaves behind |
|---|
| Bagged mix or a tub of patch, below the temperatures above | The hole is gone by supper | A weak, frozen plug that crumbles and holds damp against the lath |
| Silicone caulk | It stays flexible and it’s in every garage | A surface new base coat won’t stick to, so it gets cut out with a margin around it |
| Roofing tar or asphalt patch | It sticks to almost anything in the cold | A stain and a contaminated edge. Sika’s sheet wants joints free of tar and asphalt, and warns against contact with them |
| Spray foam from a can | It fills any shape in seconds | Damp trapped against the lath, and foam to dig out of the wall |
| Poly sheet taped down on all four sides | It looks watertight | No way out for water that got in at the top, so the hole sits wet until April |
If you've already done one of these, don't dig it out in the cold. Mention it when you send photos, so it's in the quote and nobody gets a surprise in spring.
Checking your cover between now and April
A cover isn't something you hang once and forget. These are the four moments worth a walk around the house with a coffee.
- After a big wind
- Look for a lifted top strip or a torn sheet. Off the lake, a loose corner can whip against the wall all night, so fix it the same day.
- After a thaw
- Lift the bottom edge and look for water running out, then look at the top strip. Water coming down from above means the source is higher up, often a blocked eavestrough or a soffit.
- When you shovel
- Throw the snow away from that wall. A pile against the base stays wet through the thaw, and my post on how far stucco should stop above the ground explains what that does.
- Inside, once a month
- Put your hand on the drywall behind the damage and smell the room. On a dry crack, check whether it has passed your pencil marks. My list of signs water is behind your stucco covers the rest.
When it can't wait for spring
- A loose piece hangs over a door, a walkway or the driveway.
- Water or a fresh stain shows up inside the house.
- A bulge has grown since you first looked at it.
- The hole is too high to reach from a stepladder.
Don't wait on any of these. Send two photos through the contact page or text them to (905) 973-6470.
What does the spring repair cost if the hole was covered?
A covered hole usually stays a patch: $450 to $1,200 on our price list, for up to about 20 sq ft. Left open, water can reach the sheathing, and the job turns into a section rebuild at $18 to $34 per sq ft, because that part of the wall has to come off and dry first.
Say a 4 sq ft piece comes off a side wall in December. Covered, it's on the patch line in spring. Now say it stays open and the water spreads through 60 sq ft of wall by April. That's $1,080 to $2,040 for the rebuild. The 60 is my example, since no two walls soak the same way, but the direction doesn't change. Patches on a faded finish can also need the wall refinished out to its edges at $9 to $16 per sq ft, and I go through that in why stucco patches show.

Send me the photos now and don't wait for April. A close-up and one from ten feet back tell me most of what I need, and I call back usually within a day, whether the house is in Toronto or out through Halton, Peel or York. The quote is written, fixed and free, so you'll know the spring number while the wall is still under its cover. If it's still only November and the damage is small, my post on how much time is left before winter will tell you if the job can still fit this season.